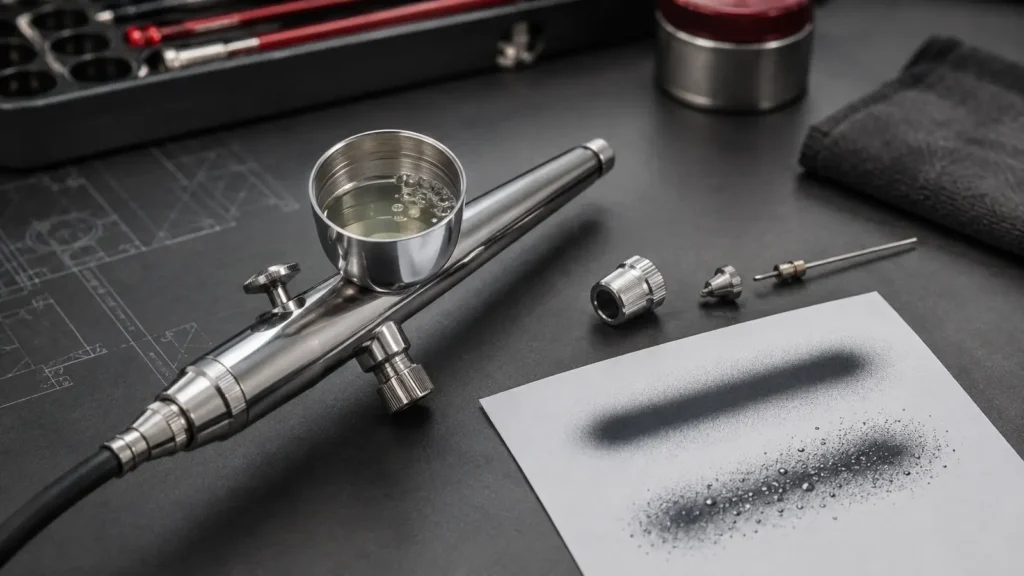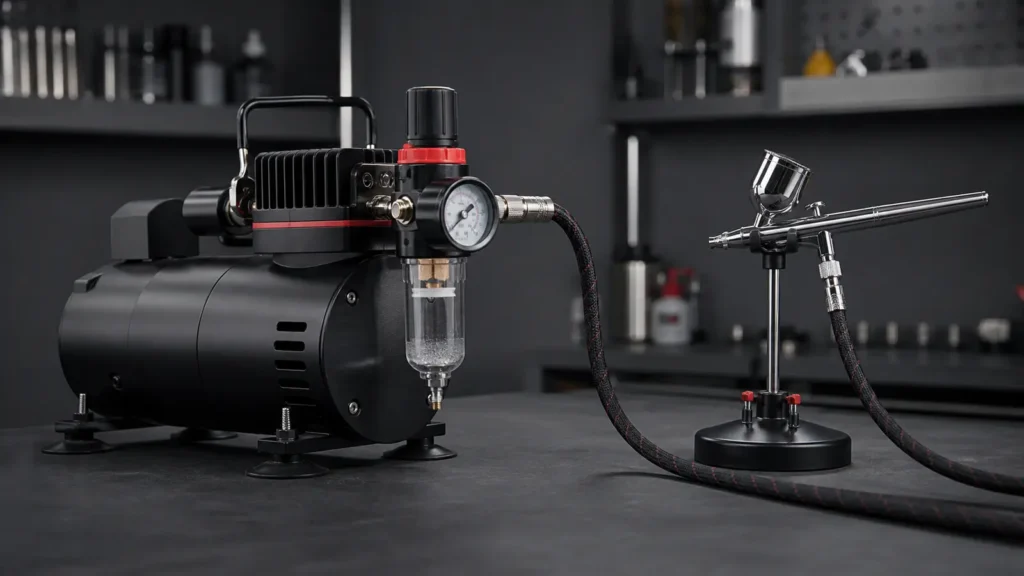
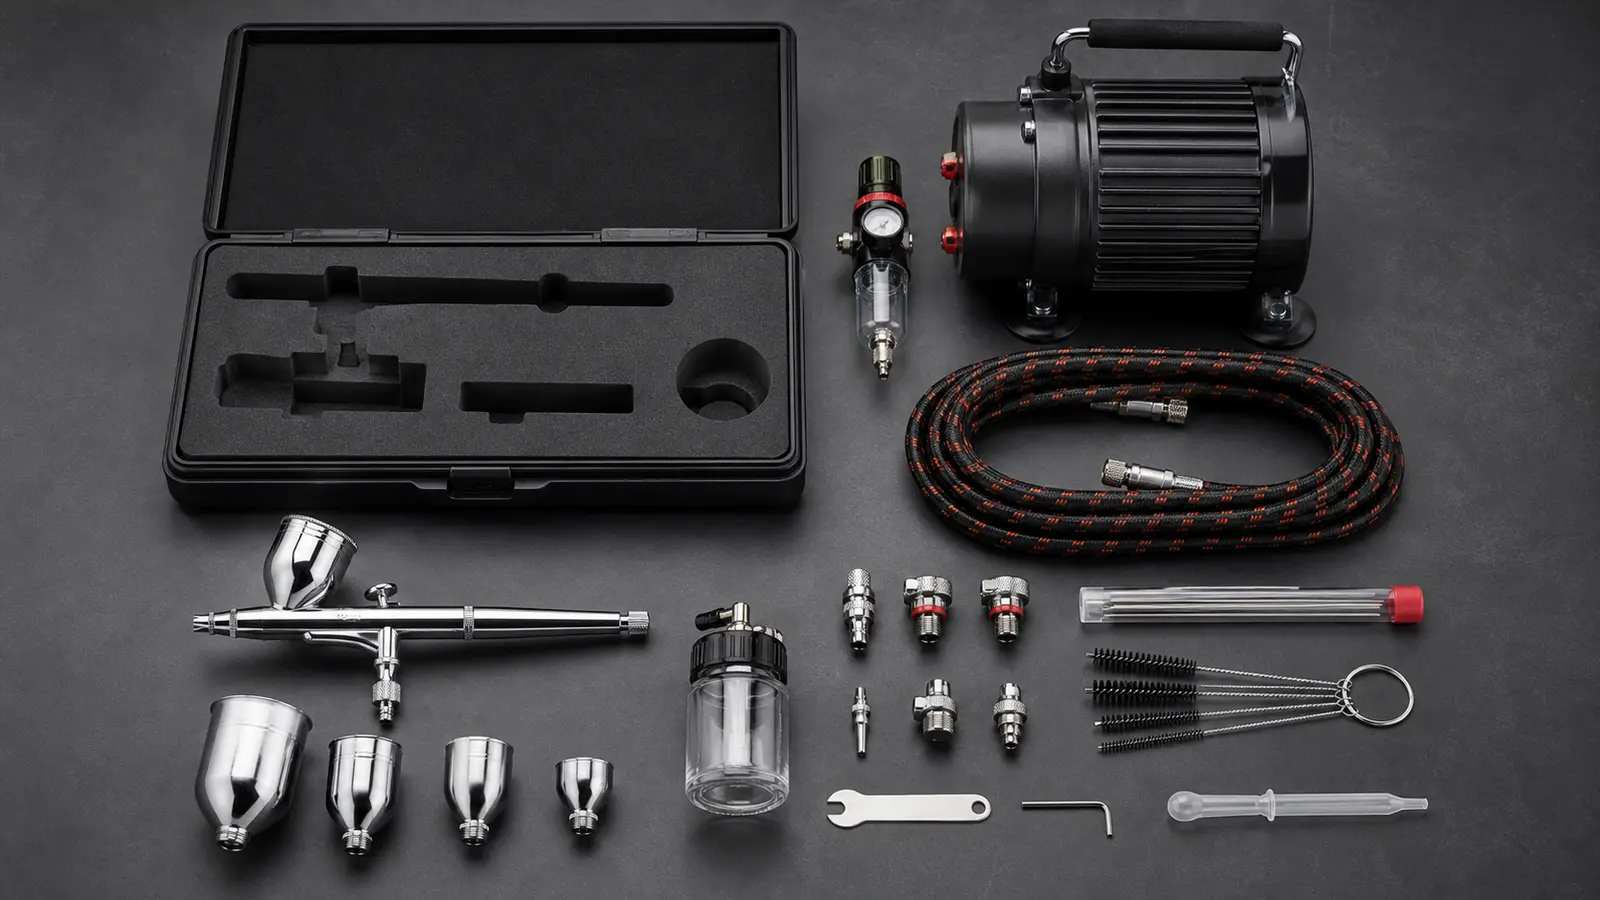
A complete airbrush kit should help the customer start work with fewer compatibility questions. The airbrush, compressor, hose, fittings and maintenance tools must function as one system, while the packaging keeps every precision component protected and easy to identify.
For brands comparing an airbrush kit supplier, the best kit is not the one with the highest item count. It is the one with the clearest application and the fewest weak links.
Start with one defined application
A model-painting starter kit, beauty kit and cake-decorating kit may share a compressor, but they should not automatically share every nozzle, cup and accessory. Define the material, detail level, working pressure, session length and cleaning routine first.
The application determines the core system. Extra accessories should support that workflow rather than distract from it.
1. Select the airbrush platform
A dual action gravity feed airbrush is a flexible choice for many creative kits because the operator can control air and material at the trigger. A 0.3 mm configuration is often a balanced starting point, while finer or wider sizes serve more specific materials and patterns.
Confirm trigger feel, nozzle alignment, seal compatibility and cleaning access. If the kit is intended for beginners, the airbrush should be forgiving enough for the target material and supported by clear instructions.
Before locking the platform, compare capacity, pressure and color handling in the gravity feed vs siphon feed airbrush guide.
2. Match the compressor to the airbrush
Choose the compressor by working pressure, airflow, operating time and environment. Portable compact units suit low-pressure or intermittent use. Stronger piston or tank-equipped systems may support longer sessions and wider nozzle options.
Test the exact airbrush, compressor and hose together. Maximum pressure on a specification sheet does not prove stable pressure while spraying.
Where humidity or longer sessions can create condensation, specify and test the regulator, tank and airbrush moisture trap as part of the same retail air path.
Document the approved setup with the test process in our airbrush pressure guide, including working PSI while the trigger is open.
3. Use a hose that fits the product and package
The hose must use the correct threads or adapters and provide enough length for comfortable work. Braided hoses offer durable protection and a professional feel, while coiled hoses can save space in portable kits.
Check bend radius inside the package. A hose forced into a tight compartment may arrive kinked or place pressure on fittings. Confirm the hose material is suitable for the expected environment.
4. Add fittings that solve a real setup problem
Quick fittings can make connection and cleaning easier. Airflow control valves allow fine adjustment near the airbrush. Adapters may be necessary when a platform uses different thread standards.
Every additional fitting creates another possible leak point, so the complete assembly should be pressure-tested. The manual should show the correct connection order.
5. Include cleaning tools sized for the airbrush
Cleaning brushes, a nozzle tool, dropper, cleaning pot or spare seals can improve ownership. The tools must fit the specific material passages and components. Oversized brushes or poorly matched tools can damage precision parts.
The kit should also explain which components the user should and should not remove during routine cleaning. More disassembly is not always better. The airbrush cleaning guide provides a three-level maintenance workflow that can be adapted to model-specific instructions.
6. Protect needles, nozzles and gauges
Precision tips and protruding compressor fittings need physical protection. A fitted foam insert, PP case or structured carton should prevent components from colliding. Small parts need closed compartments or individual bags so they do not disappear inside the box.
Inspect a fully packed sample after transport simulation or controlled handling. Look for marks, loose parts and pressure on hoses or gauges.
7. Make the component list obvious
The customer should know what is included before opening the box. The outer package, manual and internal layout should agree. Use model-specific names for needles, nozzles and adapters.
For private-label airbrush kits, control the bill of materials by revision. If one accessory changes, update the packing list, insert and inspection standard together.
| Kit layer | Essential items | Optional value additions |
|---|---|---|
| Spray tool | Airbrush, cup, installed nozzle/needle | Alternative cup or nozzle set |
| Air supply | Compressor, correct power configuration | Tank, regulator or pressure modes |
| Connection | Compatible hose and fittings | Quick coupling or airflow valve |
| Maintenance | Basic cleaning tool and instructions | Cleaning pot, spare seals or nozzle tool |
| Protection | Stable insert and retail carton | Presentation case or storage holder |
Create clear kit tiers
An airbrush kit supplier can help build a logical assortment around customer needs:
- Starter kit: one reliable airbrush, compact compressor, hose and essential cleaning tool.
- Application kit: nozzle, cup and accessories selected for beauty, hobby, cake or another focused use.
- Studio kit: stronger air supply, stable regulation, holder and expanded maintenance support.
Each tier should produce a visible improvement in capability or convenience. Avoid creating confusion with many nearly identical combinations.
Beginner kit gift checklist for miniature painters
An airbrush kit gift for miniature painting is often bought by someone who will not operate the tool themselves. The package therefore has to explain the first setup clearly: connect the air path, set pressure while air is flowing, test on a card, clean the paint path and identify the replacement parts.
A durable beginner airbrush kit should not rely on a long accessory count to look valuable. The safer question is whether the included compressor, hose, fittings, airbrush and cleaning items are matched and documented. A beginner airbrush compressor kit also needs stable regulation, ventilation clearance and moisture management for the expected hobby session.
| Buyer filter | What to include | What not to imply |
|---|---|---|
| Gift buyer checklist | Clear setup order, quick spray card and labeled cleaning tools | Do not assume the recipient already knows airbrush maintenance. |
| Budget comparison | One tested air path and a useful manual before extra jars or adapters | An airbrush kit under 150 checklist is a planning filter, not a price promise. |
| Durability concern | Protected needle, available service parts and safe storage inside the pack | Do not claim a warranty, lifetime or service outcome without a written policy. |
For hobby-specific setup, connect this kit review to the model painting setup guide, the nozzle size guide and the starter-kit buying brief.
Plan replacement parts from the beginning
Needles, nozzles, caps, seals and hoses may need replacement during the product’s life. Confirm part codes and compatibility with the airbrush accessories manufacturer. Consider small branded replacement packs that can be sold through the same channel as the kit.
After-sales parts protect customer trust and make repeat business easier. They also reduce the chance that users install an incompatible component.
Test the complete kit under real conditions
Connect only the components included in the final package. Spray the target material for the expected session length, then clean and repack the system. Record pressure stability, leakage, trigger response, accessory fit, cleaning time and component count.
Repeat the test with more than one set when possible. One good sample cannot demonstrate production consistency.
Quality checks before shipment
The inspection plan should cover both individual products and the assembled kit. Airbrush checks may include appearance, trigger movement, leakage and atomization. Compressor checks may include pressure response, automatic operation, noise and fittings. Packaging checks should confirm model, color, power version, accessories, manual and labels.
A final weight check can help detect missing components, but it should support rather than replace visual component verification.
Questions for an airbrush kit supplier
- Which airbrush and compressor combinations have been tested together?
- Can the nozzle, cup, hose and accessories be configured by application?
- Are all threads and fittings compatible without unlisted adapters?
- Which replacement parts will remain available?
- Can color, logo, insert, manual and retail box be customized?
- How is the component count controlled during packing?
- What functional tests are completed on the airbrush and compressor?
Airbrush kit quality inspection and first-use support
An airbrush kit quality inspection should start from the packed retail kit. Have the reviewer connect the included hose, fittings, airbrush and compressor using the enclosed instructions. Record missing adapters, unclear controls, accessory-count differences and any mismatch between the packing list and the actual setup.
Include a short first-use troubleshooting route in the manual. If the buyer reports an airbrush spraying air but no paint, the support sequence should separate air supply, trigger movement, liquid feed and material preparation. Random spare-part substitutions are not a useful first response.
Use the airbrush sample inspection checklist to agree the evidence retained for each test. Ask the supplier to identify the correct service parts, their packaging references and any model-specific compatibility limits before a wholesale kit order is approved.
Turn the kit BOM into an inspection handoff
An airbrush kit BOM checklist should give every included item a product name, supplier reference, quantity, revision and pack location. Use a separate airbrush kit component checklist during sample and shipment review so the inspector records what is actually present instead of copying the planned bill of materials into the result column.
| Handoff item | Planning record | Verification record |
|---|---|---|
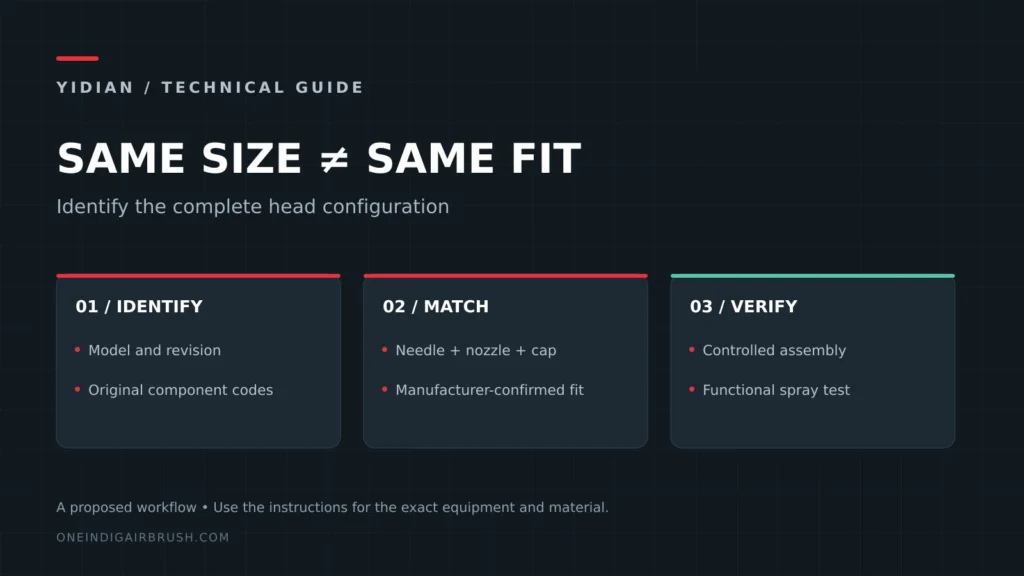
| Airbrush platform | Model and matched needle/nozzle/head configuration | Observed marking, fit, trigger and spray-check result |
| Air system | Compressor, voltage/plug, hose, regulator and fittings | Included configuration, connections, leakage and working-pressure observation |
| Accessories | Part reference, purpose, quantity and compatibility limit | Count, identity, condition and correct pack location |
| Retail pack | Insert, instructions, artwork, labels and revision | Physical pack-out, protection, barcode and document match |
Create a wholesale airbrush kit spare parts plan alongside the opening assortment. The plan should connect each service pack to the exact model and revision, define whether it is included or sold separately, and flag proposed substitutions for written confirmation. The needle and nozzle compatibility guide explains why nominal diameter alone is not enough.
During airbrush kit packaging inspection, compare the physical kit with the controlled BOM, artwork and instructions, then record shortages or mismatches as observations. Use the blank inspection framework for evidence headings and the reseller buying brief to send a reviewed component and support scope to the supplier.
Commission the complete air path before kit approval
Build the exact saleable configuration for an airbrush kit air path checklist: compressor, regulator or moisture trap, every adapter, hose, quick connector and airbrush. Match each physical component to the controlled BOM and instructions before power or paint is introduced. A substitute hose or unlisted adapter can change the result even when the airbrush and compressor model names stay the same.
- Confirm identity and connection order. Record both sides of each threaded or quick connection and complete an airbrush hose adapter compatibility check against the actual mating parts; nominal thread size alone is not proof of fit.
- Check the assembled path. Perform the maker-approved airbrush kit leak test before use. Do not use a flame or flammable liquid, and do not improvise a pressure limit or leak method that is absent from the equipment instructions.
- Set pressure under airflow. With the airbrush connected, hold the trigger for air and record the gauge position at the regulator plus any observed pressure change at the intended operating state.
- Create a spray-card baseline. Use the manufacturer-approved test medium and a safe practice surface to record line response, broader coverage and any pulsing, moisture or delayed recovery.
- Repeat after normal teardown. Clean and reconnect the kit using the enclosed instructions, then repeat the same card. This airbrush kit first spray acceptance test checks whether a new user can reproduce the documented setup; it does not establish a universal performance specification.
Send any pressure instability to the compressor acceptance cycle, moisture events to the air-path moisture record, and uncertain interfaces to the compatibility guide. Keeping those routes separate prevents a kit-level symptom from being assigned to the wrong component.
Setup references: Iwata equipment setup guidance and the Iwata Studio Series compressor manual. Apply the instructions and limits for the exact kit components under review.
Build a kit around confidence, not quantity
A complete airbrush kit succeeds when the customer can connect it, set useful pressure, spray the intended material, clean the tool and store every component without uncertainty. Compatibility and clarity are more valuable than an inflated accessory count.
Use an airbrush kit handover checklist before retail launch
Ask what will be handed over with the approved kit: a matched component list, setup and cleaning instructions, packaging revision, and identifiable replacement parts. An airbrush retailer support checklist can also record which questions the shop should answer and which require supplier review. These are proposed planning fields, not a claim that a particular after-sales service or warranty has been agreed.
Prepare those questions with the airbrush buying-brief builder, and compare the result with the wholesale range-planning guide. Confirm the commercial scope in writing before treating it as part of the order.
YIDIAN manufactures airbrushes, mini compressors, hoses, fittings and related accessories for OEM and private-label kits. Send your application, target user, quantity and retail position to develop a component list that can be sampled and tested as one complete system.