A good airbrush for model painting is not defined by the smallest nozzle or the highest compressor pressure. It is a balanced system that can repeat a clean spray pattern at the distance, paint viscosity and detail level your project actually requires.
This guide explains how to build that system for plastic models, scale vehicles and miniature work. It focuses on decisions you can verify at the bench: airbrush format, nozzle range, working pressure, paint preparation, spray testing, cleaning and fault diagnosis.
Begin with the finish you need
Before choosing equipment, separate the job into three types of work. Broad primer and base-coat coverage needs reliable material flow. Camouflage, panel modulation and shading need a controllable transition from air to paint. Fine lines and localized weathering need a stable low-output spray and a clean needle tip.
One airbrush can cover all three tasks, but every setup has a comfortable operating range. A practical model-painting station is easier to tune when the expected finish is written down first.
| Model-painting task | Useful setup direction | What to test |
|---|---|---|
| Primer and base coat | Moderate-to-wide nozzle, steady airflow, larger cup | Even wet edge, no dry texture, acceptable coverage time |
| General color and camouflage | Balanced gravity-feed setup with progressive trigger control | Clean start and stop, soft edge, repeatable fan width |
| Fine shading and detail | Fine-to-moderate nozzle, well-filtered paint, lower material delivery | No spitting, minimal tip dry, controlled line at close distance |
| Clear coat or thicker medium | Adequate nozzle area and airflow for the specific coating | Atomization, leveling and compatibility with seals |
Why a gravity-feed dual-action airbrush is a common starting point
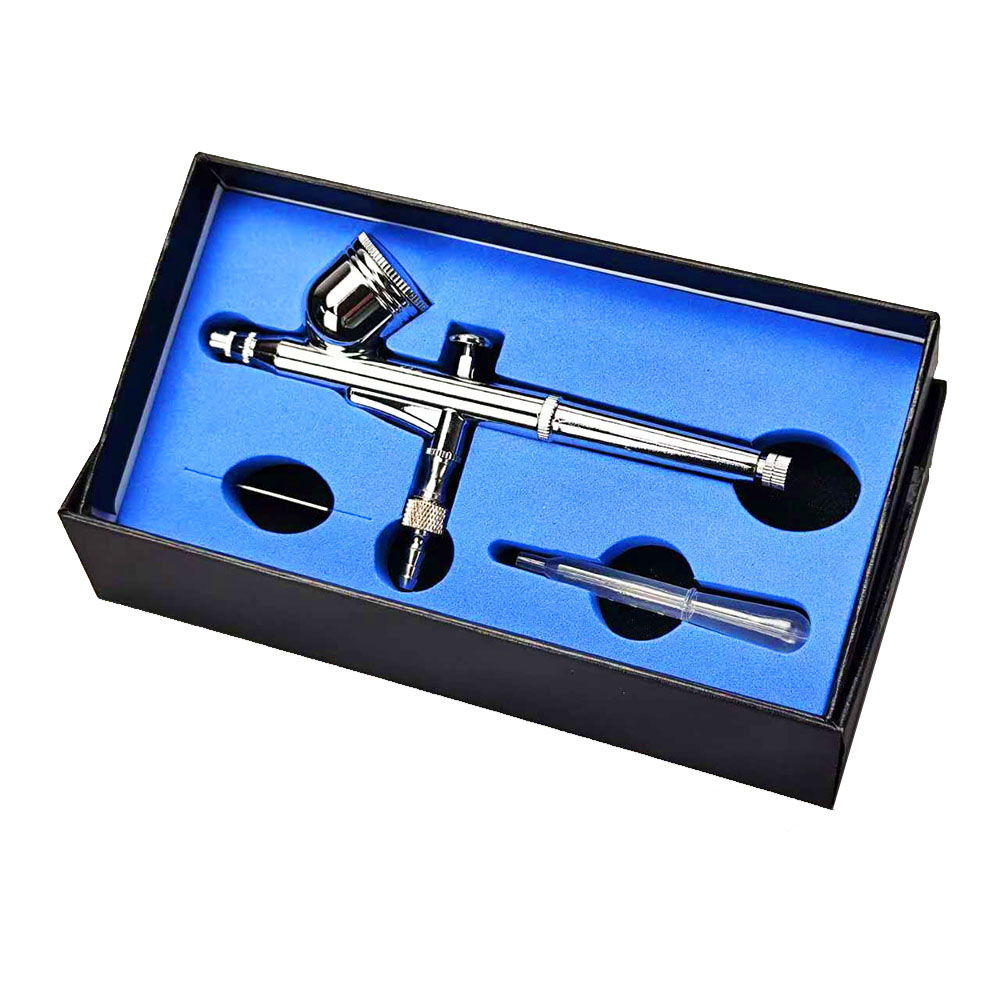
For many builders, a gravity feed airbrush for models offers a useful combination of low paint volume, easy color changes and direct visibility into the cup. A dual-action trigger separates air from paint control: press for air, then pull back to introduce material. That makes gradual shading and controlled starts possible once the motion becomes familiar.
A single-action platform can still be appropriate for repetitive coating or a simpler beginner workflow. The right choice depends on the operator and product position, not on a claim that one control system is universally superior. Our dual-action versus single-action guide compares both formats in more detail.
Choose nozzle size by material and tolerance, not marketing
A very fine nozzle can produce small patterns, but it also asks more from paint filtration, reduction, needle condition and trigger discipline. A wider nozzle generally passes thicker material more easily and covers larger surfaces faster. Between those extremes, a balanced configuration is often more useful for a mixed model-painting workload.
Nozzle labels alone do not predict the final line. Needle taper, air-cap geometry, paint pigment, pressure, spray distance and the operator’s hand all affect the result. Compare complete airbrush samples with the same paint and test card rather than comparing diameter numbers in isolation. Our airbrush nozzle size guide maps 0.2 mm, 0.3 mm and 0.5 mm options to material tolerance and sample checks.
Choose the smallest setup that sprays your normal paint reliably, not the smallest setup that works once under ideal conditions. Reliability during a full session matters more than one impressive line on a sample card.
Starter setup for miniatures, D&D figures and Gunpla
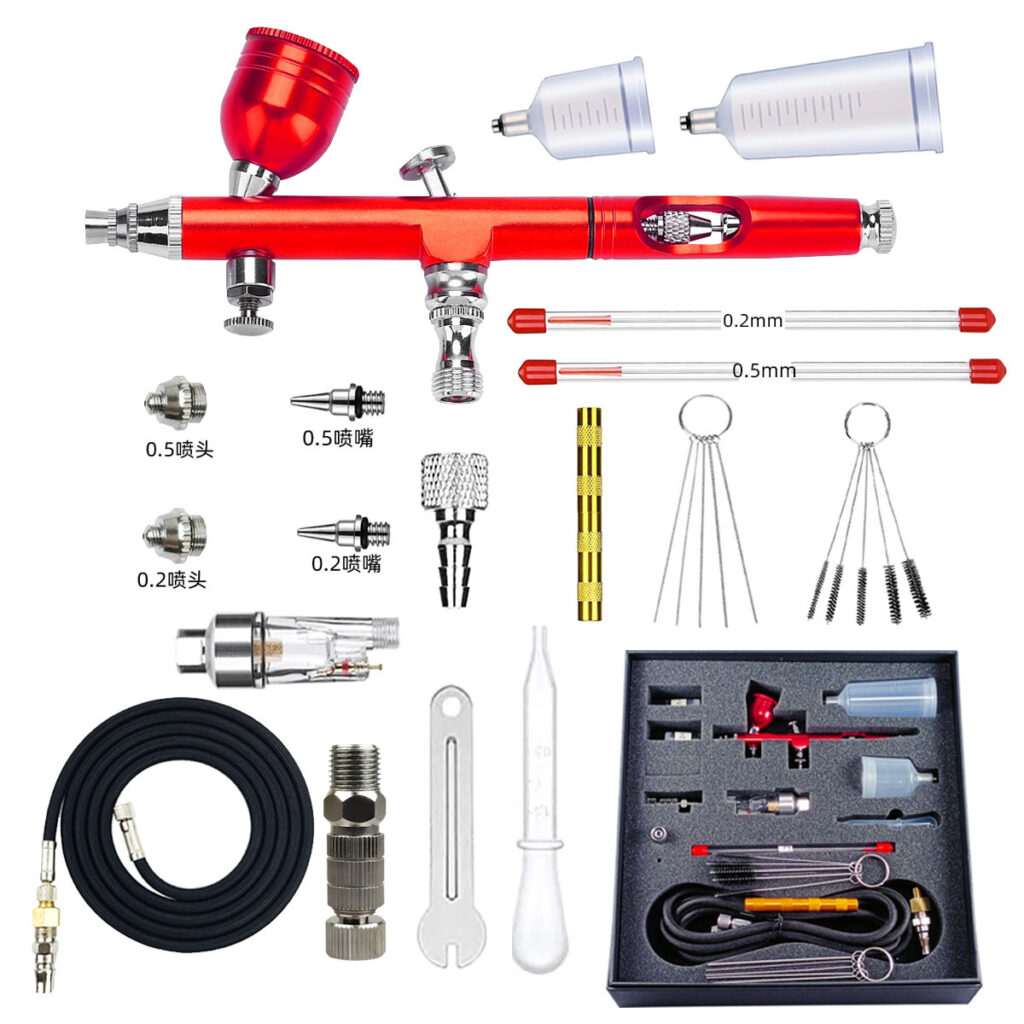
A beginner airbrush kit for models should remove setup uncertainty before it adds extra parts. For tabletop miniatures, D&D figures, Gunpla and small plastic kits, start with a stable air source, one forgiving gravity-feed airbrush, a hose that actually fits, basic cleaning tools and a short spray-card routine.
An airbrush starter kit for miniatures does not need to promise professional fine lines on day one. It needs to let a new user prime, base coat, shade and clean without damaging the needle or nozzle. If the buyer is choosing an airbrush for D&D miniatures as a gift, include simple instructions for pressure setup, paint testing and end-of-session cleaning so the first use is not guesswork.
| Retail buyer question | Useful setup direction | Internal check |
|---|---|---|
| First model or miniature kit | Balanced 0.3 mm gravity-feed platform with compact compressor and cleaning basics | Can the user make dots, lines and a small filled area after reading the quick guide? |
| Gift for D&D miniature painting | Reliable starter system, not a large bundle of unclear accessories | Are hose, power, cleaning and spare-part names clear enough for a non-expert buyer? |
| Airbrush for Gunpla beginners | Stable pressure, controlled trigger response and supportable replacement parts | Can the setup apply primer or color smoothly before attempting fine shading? |
Use the complete kit checklist to confirm the bundled components, the pressure guide to record working PSI and the product range to compare airbrush, compressor and accessory options.
Set working pressure while the airbrush is flowing
The gauge can show one value when the trigger is closed and a lower value when air is moving. The second value is the working pressure that affects atomization. Connect the final hose and fittings, press the trigger for air, then adjust the regulator while air continues to flow.
There is no universal pressure for model painting. Start within the recommendations of the airbrush and coating manufacturer, then adjust in small steps. Thin paint, close detail work and a well-matched gravity-feed airbrush may operate at a lower pressure than thicker primer or wider coverage. If pressure must be raised sharply to make paint pass, check viscosity, pigment particles and nozzle cleanliness before blaming the compressor.
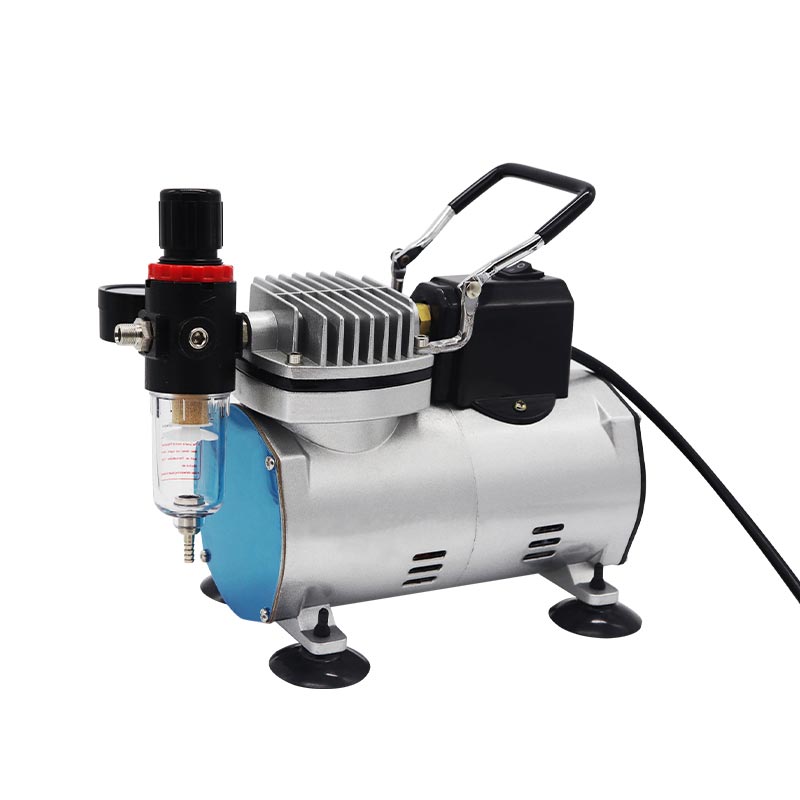
For a compact station, choose an air source that holds pressure during spraying rather than one that only advertises a high maximum value. Review airflow, duty cycle, regulator behavior, moisture control and heat during the expected session. The mini air compressor selection guide covers these checks.
Build the station in a fixed order
- Place the compressor on a stable surface. Keep ventilation openings clear and confirm the correct voltage for the market.
- Install moisture control and regulation. Drain collected moisture according to the equipment instructions.
- Connect the hose and fittings by hand. Use the correct thread or adapter; do not force mismatched parts.
- Check for air leakage. Listen at each connection and inspect seals before adding paint.
- Test with the recommended safe test liquid. A water test can confirm basic atomization and airflow without wasting coating.
- Set working pressure with air flowing. Record the value that produces a stable test pattern.
This sequence isolates problems. If the station cannot produce a stable pattern before paint is introduced, adding thinner or changing the needle will not correct the air-supply fault.
Prepare paint by observing spray behavior
Use the coating maker’s thinner, reduction guidance and safety data as the starting point. Different acrylics, lacquers, enamels, primers and clears can behave very differently even when they appear similar in the cup. Avoid applying one fixed mixing ratio to every product.
Mix thoroughly, then filter material when pigment particles or dried fragments could approach the nozzle size. Prepare only the amount needed for the session. If the spray looks grainy, the cause may be high pressure, excessive distance, fast-drying material or insufficient reduction. If the paint floods and spiders outward, material delivery may be too high, the surface may be too wet, or the airbrush may be too close.
Use a five-part spray test before touching the model
A test card is the fastest way to protect a finished model. Use the same card type and write the paint, reduction, pressure and nozzle configuration on the back. Repeat these five checks whenever the setup changes:
- Air-only check: press the trigger without pulling back. Paint should not appear.
- Dot check: make several short dots. Look for tails, splatter or delayed paint.
- Line check: draw parallel lines at a constant speed and distance. Compare width and density.
- Gradient check: build a smooth transition from transparent to opaque without sudden jumps.
- Restart check: pause briefly, then resume. A clean restart reveals whether material is drying at the tip or collecting in the cap.
Do not tune every variable at once. Change pressure, reduction, distance or trigger travel one at a time and repeat the same test.
Make the spray card useful for kit approval
A model airbrush spray test card should record more than whether the finish looks acceptable once. Write the paint brand or material type, reduction method, nozzle size, working pressure, distance and session time. Keep the first and final card from the same setup so a retailer or studio can see whether performance changes after several minutes of spraying.
For an airbrush setup checklist for plastic models, include the air source, hose, moisture control, needle/nozzle set, cleaning tool and replacement-part code. This prevents a kit from being approved with a display sample that cannot be supported after launch. If the airbrush begins to spray air without paint during the check, use the air-only no-flow diagnostic rather than increasing pressure blindly.
A miniature airbrush pressure test should be read while air is flowing, then repeated after cleaning and reassembly. Treat the result as part of model painting airbrush troubleshooting: compare dots, lines, gradients, restarts and cup behavior in the same order. Buyers preparing a private-label or classroom kit can combine this record with the sample inspection checklist and studio buying brief.
Package the model-painting setup for retail handoff
A model painting airbrush starter assortment should give the retailer a controlled path from first use to repeat purchase. Separate a forgiving starter kit, a detail-focused airbrush, a compressor-supported bundle and the replacement parts that keep each option serviceable. This prevents a buyer from approving a large accessory count while missing the needle, nozzle, hose or cleaning item that a model painter will ask for later.
A miniature airbrush setup card belongs in the approval file before the kit is launched. Keep the card short: connect compressor and hose, set pressure while air is flowing, test with safe liquid, spray dots and lines, then clean the cup and needle path. The card does not need to promise expert results; it needs to make the first session repeatable enough for a beginner to identify whether the problem is setup, paint or hardware.
Use a model paint airbrush troubleshooting handoff when support teams receive no-flow, spitting, clogging, pulsing or bubble reports. Point each symptom to the relevant diagnostic page, then feed confirmed sample issues back into the complete kit supplier checklist, the wholesale onboarding file and the buyer brief.
Connect model-painting evidence to the product path
A model painting kit product path should move from the user’s project to a supportable product family, not straight from a broad accessory count to a purchase request. Record whether the kit is for first models, D&D figures, Gunpla, classroom use or a detail-focused retail set, then compare the matching airbrush, compressor and cleaning items in the product range.
The miniature paint starter evidence card can be simple: paint type, nozzle, working pressure, first dots, first lines, cleanup result and the next question. If the card shows no flow, repeated clogs or pulsing, route the support note to the specific diagnostic page before changing the approved kit contents.
A Gunpla airbrush support handoff should identify whether the problem appears during primer, base color, restart after cleaning or fine shading. Link that handoff to the nozzle size guide, the pressure guide and the buyer brief so the buyer can ask for the correct model family and support parts.
Send the model type, paint category, current compressor if any, nozzle preference, cleaning concern and whether the kit is for first use, class use or a retail assortment. The first reply can then separate product fit from price, stock and shipping questions.
Route a model project through the application brief
A model painting application request brief is useful when the buyer knows the project but not the exact product family. Start with the model type, paint system, current compressor, nozzle preference and support question, then use the application request brief matrix to decide whether the next step is a standalone airbrush, a compressor-supported kit, replacement parts or an OEM sample review.
For a Gunpla kit application routing note, keep first-use setup, primer/base color, fine shading and restart-after-cleaning issues separate. That makes the request easier to compare with the complete kit product path without turning a hobby workflow into a premature price or stock question.
Match hand movement to the layer
Primer and base coats
Keep the airbrush moving before increasing material. Use overlapping passes and build coverage in controlled layers. A single heavy pass can hide surface detail, collect around panel lines and increase drying time.
Camouflage and color modulation
Practice the required edge on the test card first. Distance and material flow strongly affect softness. For repeatable freehand patterns, keep wrist angle, speed and trigger range consistent rather than constantly correcting after paint reaches the surface.
Fine lines and weathering
Move closer only after the spray is stable. Reduce material delivery and use short controlled passes. Check the needle tip frequently, because a small deposit can distort a fine pattern before a complete clog is obvious.
Diagnose common model-airbrush problems
| Observed result | Likely areas to inspect | Next controlled test |
|---|---|---|
| Spitting at start | Material in cap, loose nozzle, damaged needle, incomplete cleaning | Clean cap and tip, inspect seating, repeat dots with test liquid |
| Grainy or dusty finish | Paint drying before the surface, high pressure, long distance, fast thinner | Reduce distance or pressure in one small step and retest |
| Spidering or runs | Too much material, excessive reduction, close distance, wet surface | Limit trigger travel and use a lighter pass |
| Pulsing pattern | Air leak, poor nozzle seal, compressor fluctuation, obstructed passage | Test airflow and connections before changing paint |
| Off-center spray | Bent needle, cap contamination, nozzle damage or misalignment | Inspect under good light and rotate a clean test card |
| Paint bubbles in cup | Restricted nozzle area, cap blockage or sealing problem | Stop spraying, clean the front assembly and verify part seating |
Clean at the level the session requires
For a color change, remove remaining paint, wipe the cup and flush with the correct cleaner until the discharge is clear. At the end of a session, clean the cup, paint passage, needle and front components according to the airbrush manual. Handle the needle and nozzle as precision parts; forcing a needle forward or using an oversized tool can damage the sealing surfaces.
A deep disassembly is not required after every small task. Excessive teardown creates its own risk of lost seals, cross-threading and nozzle damage. Use the least invasive cleaning method that restores a verified clean spray, and never store the airbrush with paint or cleaner in the cup. See how to clean an airbrush for a color-change, end-of-session and fault-driven maintenance sequence.
Ventilation and personal protection are part of the setup
Airbrushing turns coating into airborne mist. Work with effective local exhaust that moves overspray away from the breathing zone and follow the coating manufacturer’s safety data for ventilation, gloves, eye protection and respiratory protection. Water-based paint should not be assumed harmless simply because it has less solvent odor.
Keep ignition sources away from flammable materials. Store and dispose of paint, thinner and cleaning waste according to local requirements. Equipment selection does not replace a hazard assessment for the exact coating being sprayed.
A sample checklist for brands selling model-painting kits
For a retailer or private-label buyer, evaluate the complete user experience rather than approving the airbrush alone:
- Does the airbrush produce a repeatable dot, line and gradient with the target hobby paint?
- Can the compressor hold the selected working pressure while air is flowing?
- Are hose threads, quick fittings and adapters correct without undocumented parts?
- Are needle, nozzle, cap and seal replacements clearly identified?
- Does the manual explain pressure setup, paint testing, cleaning and safe use?
- Does the packaging protect the needle tip, gauge, hose and small accessories in transport?
- Can a new operator unpack, connect, test, clean and repack the kit without guessing?
When comparing a supplier, request multiple samples and run the same test sequence on each set. This reveals consistency that a single display sample cannot show. Explore YIDIAN’s airbrushes, mini compressors and complete kits to build a model-painting configuration around a defined workflow.
Frequently asked questions
What is a good first airbrush for plastic models?
A balanced gravity-feed dual-action airbrush is a common starting point because it supports small paint quantities, color changes and progressive material control. The final choice should still be tested with the user’s paint, detail level and cleaning routine.
Do I need the finest available nozzle for miniature painting?
No. A finer nozzle can support a small pattern, but it also demands well-prepared paint and careful maintenance. Choose a nozzle that can spray the normal coating consistently for an entire session.
Why does pressure drop when I press the trigger?
The regulator and hose experience airflow when the trigger is pressed. Read and adjust the gauge under that flowing condition. A large drop can also indicate insufficient airflow, restriction or leakage.
Should a model airbrush be fully disassembled after every color?
Usually not. A correct color-change flush is less invasive. Follow the product manual and reserve deeper cleaning for the end of a session or when verified spray behavior shows a restriction.
Build a repeatable process, not a collection of settings
The best airbrush for model painting is the one you can set, test and clean consistently. Record the paint, reduction, working pressure, distance and result on test cards. That simple habit turns adjustment from guesswork into a process that can be repeated across colors, models and operators.
YIDIAN develops gravity-feed airbrushes, mini compressors, hoses, fittings and private-label kits for model, craft and professional markets. Send your target application and product brief to compare sample configurations under one controlled test plan.