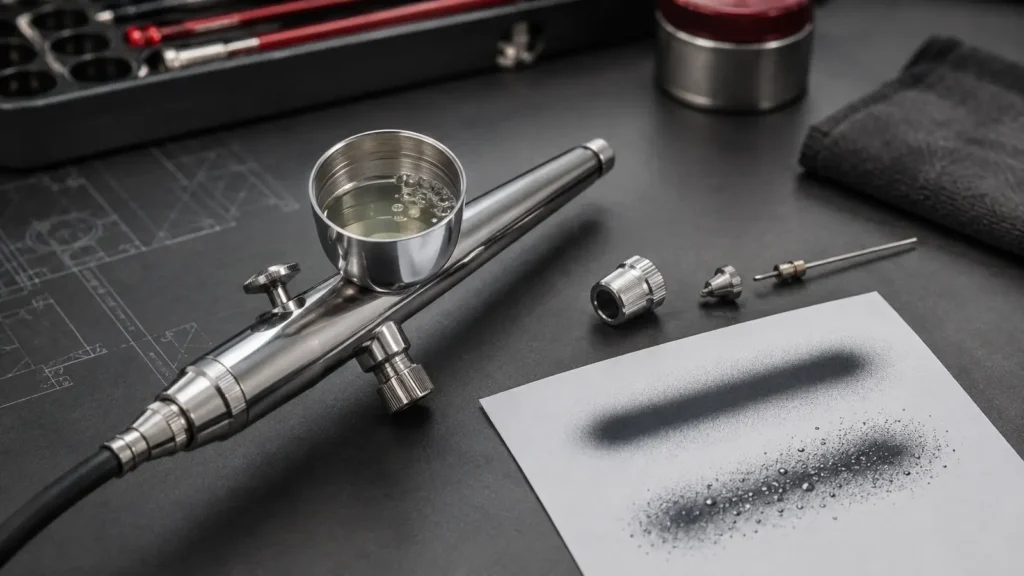
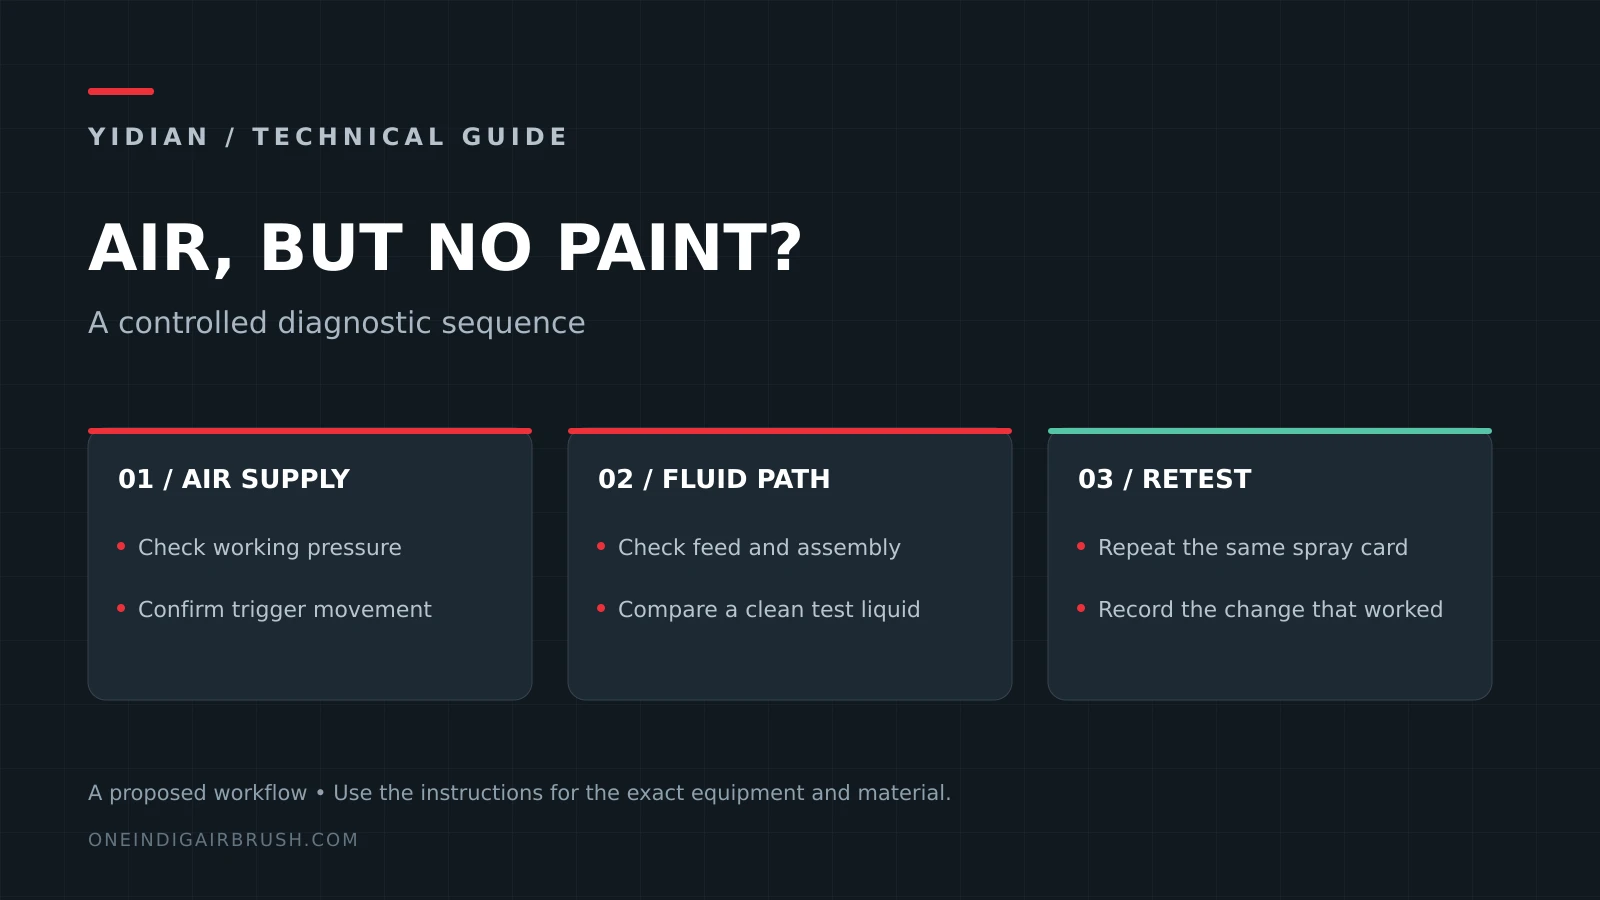
An airbrush not spraying paint needs a short diagnostic sequence before it needs a replacement part. First separate a missing air supply from a blocked or inactive paint path. Then compare a compatible clean test liquid with the coating you actually want to spray. This guide is for needle-controlled, internal-mix airbrushes; follow the instructions for your exact model when its trigger or head design differs.
Quick answer: air comes out, but no paint does
If you hear steady air but see no paint, check whether the trigger actually withdraws the needle, whether the cup or bottle can feed liquid, and whether dried coating restricts the nozzle. Paint that is too viscous for the selected setup can produce the same symptom. Raising pressure without identifying which condition applies makes the diagnosis less reliable.
A useful first division is simple: if an approved clean liquid sprays normally but paint does not, investigate paint preparation and setup. If neither sprays, concentrate on feed, needle movement, contamination and head assembly. That comparison is evidence, not a final diagnosis: a partial restriction may still pass a thin liquid.
If paint begins normally and then stops after a short pause or a few passes, treat it as a repeat restriction rather than only a no-flow fault. The airbrush clogging diagnostic guide shows how to compare tip dry, paint reduction, filtration, cleaner residue and nozzle fit without changing several variables at once.
First-airbrush no-paint checks for model paints
Airbrush not spraying for beginners is often caused by a control or setup step that is normal to an experienced user: pressing for air without pulling for paint, a loose needle clamp after cleaning, a closed handle valve, a blocked bottle vent or paint that has not been prepared for the nozzle. Do not turn the first support reply into a parts replacement until these checks are separated.
When an airbrush not spraying miniature paint report comes in, compare a compatible clean liquid with the actual primer or color. If clean liquid sprays but the model paint does not, review material preparation and the beginner nozzle choice. If neither sprays, inspect needle movement and feed path before changing pressure.
A first airbrush not spraying checklist for retail kits should include the trigger sequence, cup or bottle feed, pressure under airflow, clean-liquid result, reassembly after cleaning and whether cup bubbles are present. Pair it with the starter kit checklist so buyers know which instructions, cleaning items and spare parts must be included before the kit leaves the supplier.
Use this no-paint troubleshooting table
| Observation | Check first | What the result tells you |
|---|---|---|
| No air and no liquid | Compressor operation, hose connection, regulator and any local air-control valve | The supply path must work before paint-flow testing is meaningful. |
| Steady air, no needle movement | Trigger operation and needle-clamping engagement | Paint control may not be opening the fluid passage. |
| Clean liquid sprays; paint does not | Coating preparation, tip dry and a partial restriction | The system can move liquid, but not yet the intended coating. |
| Neither clean liquid nor paint sprays | Feed passage, bottle vent, needle travel and nozzle condition | A fluid-path or assembly problem remains likely. |
| Cup bubbles while air is flowing | Cap seating, nozzle seal and nozzle damage | Air is entering the fluid path; investigate backflow separately. |
| Flow starts, then stops after a pause | Tip dry, paint settling, bottle vent and supply stability | A time-dependent restriction or supply condition is involved. |
1. Establish a safe, repeatable baseline
Work in a suitable ventilated spraying area and follow the coating’s safety data and equipment instructions. Use a clean-liquid test appropriate for the airbrush and the material system. Water may suit a compatible water-based setup; it is not a universal test fluid for equipment containing solvent-based residues. Do not mix unknown cleaners or atomize an unsuitable solvent into the room.
Note the model, nozzle/head configuration, coating, approved reducer, pressure while air is flowing, and when the fault began. Keep the same test card and spray distance between checks. Shut off and release the air supply before removing service parts, as the model instructions require. Sharp needles and small threaded nozzles are easily damaged by force.
2. Confirm air at the airbrush under flow
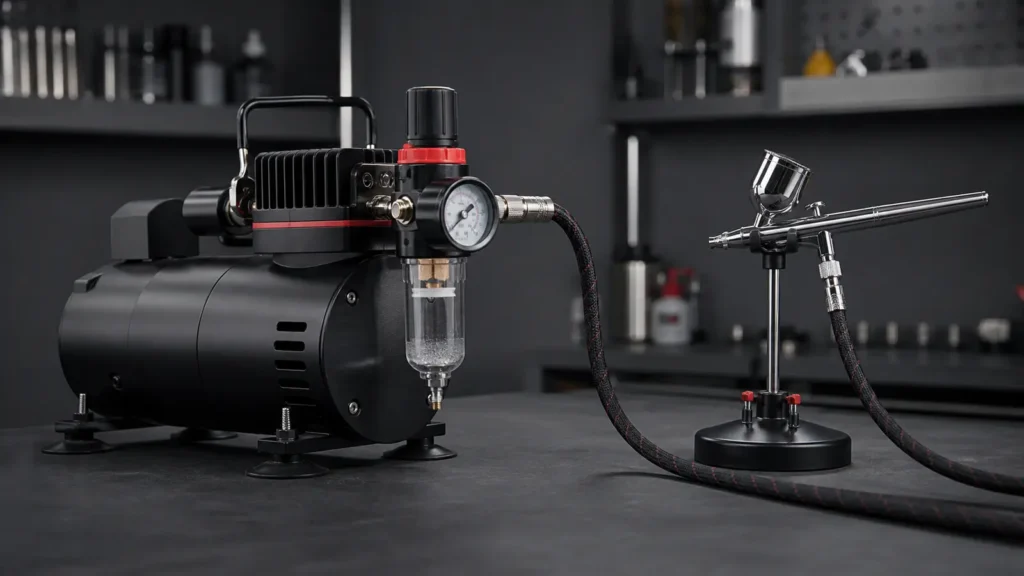
A compressor motor running does not establish that useful air reaches the nozzle. Check hose seating, the regulator, quick connectors and any air valve on the handle or coupling. Observe pressure while triggering airflow. A gauge that looks normal at rest can drop under load.
If airflow is weak or pulsing, stabilize that condition before making conclusions about paint viscosity. Use the working-pressure guide to distinguish static pressure from pressure during spraying. Stay within the equipment’s operating limits; there is no pressure increase that safely fixes every blockage.
3. Check the trigger and needle movement
On a typical dual-action airbrush, pressing the trigger supplies air and pulling it back withdraws the needle for paint. An air-only press can therefore be normal. Check the correct operating movement before taking the tool apart. Trigger-style and single-action models use different controls.
If the problem started after cleaning, inspect the needle-clamping arrangement and reassembly against the manual. A trigger can feel active while failing to move a loosely clamped needle. Inspect movement without touching the sharp tip or forcing the needle into the nozzle. If the mechanism binds, stop and identify the assembly error instead of overcoming it with pressure.
4. Confirm that liquid can reach the nozzle
For gravity feed, inspect the cup and accessible fluid passage for settled pigment or dried residue. For siphon feed, confirm that the pickup tube is seated, reaches the liquid and is not blocked. Check the bottle’s vent as described in its instructions: a blocked vent can interrupt supply even when the airbrush itself is clean.
Pay attention to setup orientation. A nearly empty bottle or an exposed pickup tube can mimic a component failure. Change one condition at a time so that restoring feed is not confused with a pressure adjustment or a cleaning effect.
5. Compare paint with a compatible clean liquid
Run a brief, contained clean-liquid test using the same working pressure and trigger sequence. Record whether flow begins immediately, remains steady and stops cleanly. Then prepare a small amount of the intended paint according to its manufacturer’s instructions and repeat.
If only the paint fails, review mixing, pigment settling, approved reduction and the suitability of the nozzle/head for that material. Do not adopt an arbitrary reduction ratio from an unrelated paint. Dried residue at the needle tip can stop delivery after an otherwise successful initial pass; clean it using the prescribed method and repeat the pause-and-restart test.
6. Clean a restriction without enlarging the nozzle
Begin with the least invasive procedure that addresses the observed contamination. Flushing, wiping accessible residue and cleaning the needle may be sufficient. If performance remains poor, follow the model-specific disassembly sequence. The airbrush cleaning SOP separates color-change flushing from deeper service.
Never force wire, a needle or an oversized cleaning tool through a precision nozzle to create flow. A damaged opening may briefly pass liquid yet produce leakage or an irregular pattern afterward. For a cracked nozzle, bent tip or damaged thread, obtain the correct replacement instead of treating repeated cleaning as repair.
7. Separate backflow from a simple paint restriction
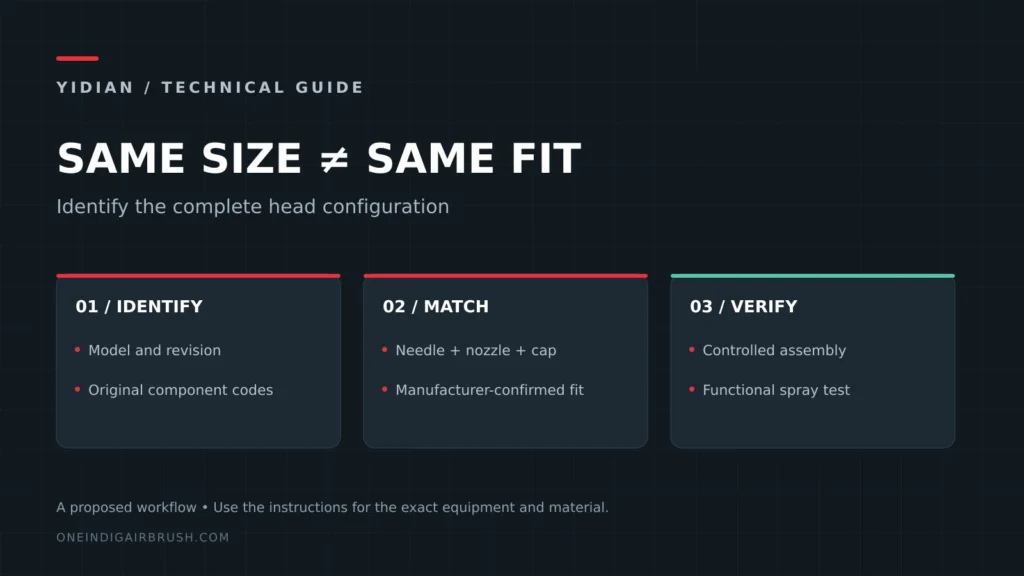
Unintended bubbles in the cup are a specific clue. Check the cup-backflow diagnostic sequence for cap seating and nozzle sealing. If the airbrush stopped spraying after a parts change, verify the complete configuration using the needle and nozzle compatibility guide.
A nozzle diameter printed on a packet does not prove that its thread, seat or head relationship matches your airbrush. Repeatedly substituting similar-looking parts makes it harder to find the original fault.
Verify the repair before returning to a model or production job
Use a test card for several short starts, a continuous pass and a restart after a brief pause. Confirm that clean liquid and the intended prepared paint both flow predictably, that there is no unintended bubbling, and that paint stops when the control closes. Record the single change that solved the symptom.
For distributors, ask a customer for the model, coating, nozzle configuration, working pressure and a short description of the clean-liquid result. This is more useful for after-sales triage than immediately shipping a random spare needle. Review the airbrush and accessory range when a verified replacement or a different configuration is needed.
No-paint questions
Why does an airbrush spray water but not acrylic paint?
The material may need preparation appropriate to the selected nozzle and air supply, or dried paint may be partially restricting flow. Passing water narrows the diagnosis; it does not prove the airbrush is completely clean.
Why did it stop spraying immediately after cleaning?
Check needle engagement, needle seating, cap placement and the feed path before changing pressure. A reassembly problem and a remaining deposit require different corrections.
Should I replace the nozzle if no paint comes out?
Replace a nozzle when inspection or the manufacturer’s service procedure establishes damage or wear. First eliminate incorrect trigger use, restricted feed, unsuitable material preparation and a loose needle clamp.
Send the model, coating and test observations to discuss a product-specific spare-parts or sample evaluation request.
Technical reference: Iwata’s manufacturer troubleshooting guide. This diagnostic worksheet is general guidance and does not replace the manual for a particular airbrush.