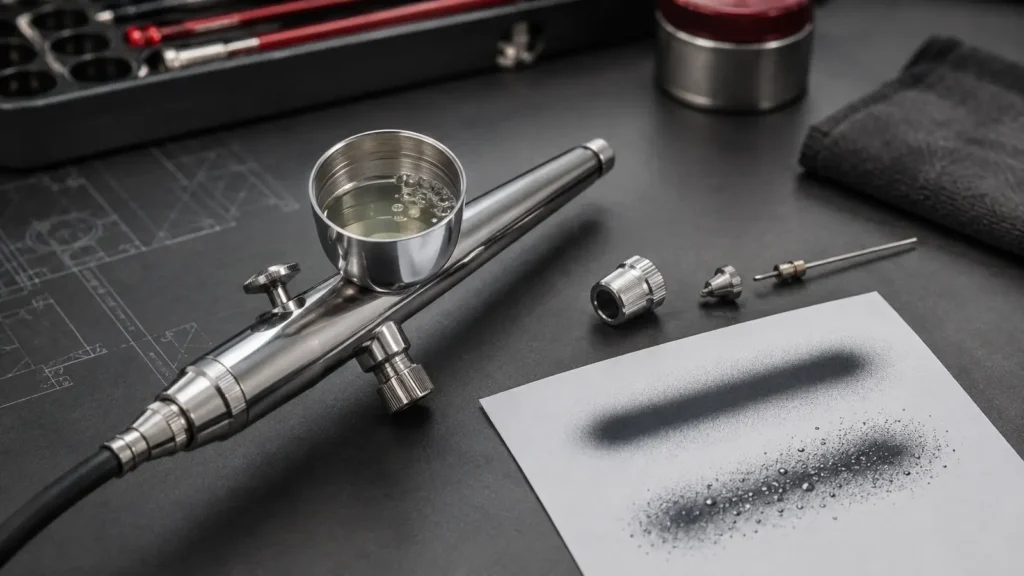
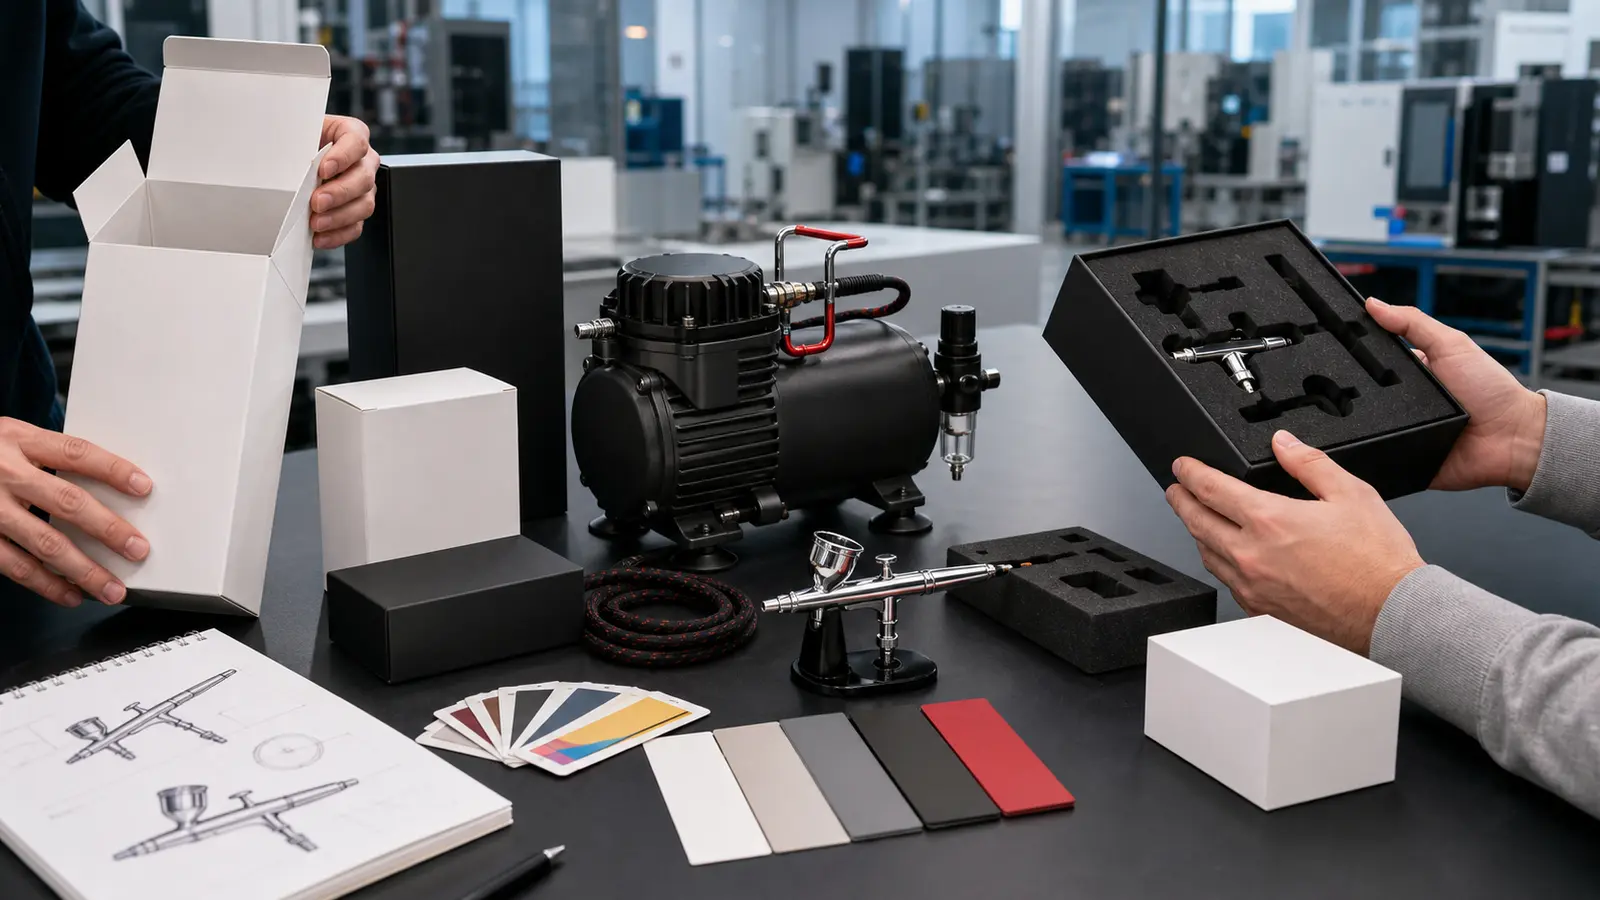
A private label airbrush manufacturer should deliver more than a standard product with a different logo. The airbrush, compressor, fittings, accessories, instructions, retail box and outer carton must work as one controlled SKU. Missing one of those decisions usually creates delay at sampling or an expensive correction after artwork is printed.
This factory-to-retail checklist is for brands, importers and distributors building a private-label airbrush line. It uses stage gates so that product decisions are approved before packaging and bulk production depend on them.
Keep the buyer brief, specification, bill of materials, artwork, sample report, packing list and carton data under one project code. Email history is not a revision-control system.
Gate 1: Define the customer, channel and job
Begin with the retail promise, not the color. A kit for a nail salon, a model painter and a cake decorator may all use a small airbrush, but the material, nozzle, cup, working pressure, cleaning routine and instructions differ. State who will buy the product, where it will be sold and what a successful first use looks like.
| Brief item | Example decision | Factory impact |
|---|---|---|
| Application | Fine model detail or broader cake coverage | Nozzle, cup, airflow and accessory choice |
| User | Beginner, salon technician or experienced artist | Control type, setup steps and spare parts |
| Channel | Marketplace, distributor catalog or retail shelf | Package protection, dimensions and content hierarchy |
| Price position | Entry, core or professional | Platform, finish, case and included components |
| Market | Country, language, voltage and plug | Electrical configuration, label and manual |
Give each SKU one reason to exist. A range with three colors but no difference in application, capability or bundle is harder to explain and more expensive to stock. A clear entry-core-professional progression is easier for both buyer and factory to control.
Gate 2: Choose the product architecture
A custom airbrush manufacturer can usually start from a proven platform or develop a deeper structural change. A proven platform reduces technical risk and can still support a distinct market offer through nozzle selection, cup, finish, accessories, compressor matching and packaging.
The YD130 dual-action gravity-feed airbrush, for example, has documented 0.2, 0.3 and 0.5 mm options. A brand could build a fine-detail SKU, a general-purpose SKU and a wider-coverage SKU around one recognizable platform. The choice should follow the target material and workflow, not a rule that one nozzle size is “best.”
Use a simple product architecture sheet with these fields:
- model and revision;
- feed type, control type, nozzle, needle and cup;
- finish and logo method;
- compressor, hose, adapter and plug where included;
- accessories and replacement parts;
- unit package and outer-carton option;
- target sample, launch and repeat-order quantities.
Do not start box artwork until this structure is stable. Every late product change can alter the insert, photography, manual, claims, barcode record, unit weight or carton.
Gate 3: Write the OEM/ODM scope in levels
The phrase private label can mean logo-only marking or a complete custom program. Ask the private label airbrush supplier to separate standard, configured and developed work in the quotation.
| Level | Included work | Approval evidence |
|---|---|---|
| Branding | Logo on standard product and standard package | Marked physical sample |
| Retail package | Custom box, insert, manual, barcode and carton mark | Complete packed sample and artwork proof |
| Configured OEM | Nozzle, finish, accessories, compressor and packaging combination | Matched system test and bill of materials |
| ODM | Structural, ergonomic or functional development | Approved drawings, prototypes, validation and ownership terms |
The YIDIAN OEM/ODM service supports product configuration, color, logo, packaging and development review. Minimum quantity and lead time should be quoted after the selected model, branding method and packaging scope are known. A generic MOQ without that context is not reliable planning data.
Gate 4: Approve a functional sample before a visual sample
First prove that the proposed airbrush and air source suit the application. Test with the intended material, pressure and session pattern. Record the exact sample model and components so that the visual sample is built on an accepted functional base.
| Test | Record | Approval question |
|---|---|---|
| Spray response | Material, thinning, pressure, distance and pattern | Does every sample start and respond consistently? |
| Trigger and valve | Movement, return and unit-to-unit feel | Is the control suitable for the target user? |
| Leakage | Air and material joints checked | Is the assembled configuration leak-free? |
| Cleaning | Flush, disassembly and reassembly steps | Can the user maintain it with the supplied instructions and tools? |
| Compatibility | Hose, fitting, compressor and power version | Can the customer start without another adapter or part? |
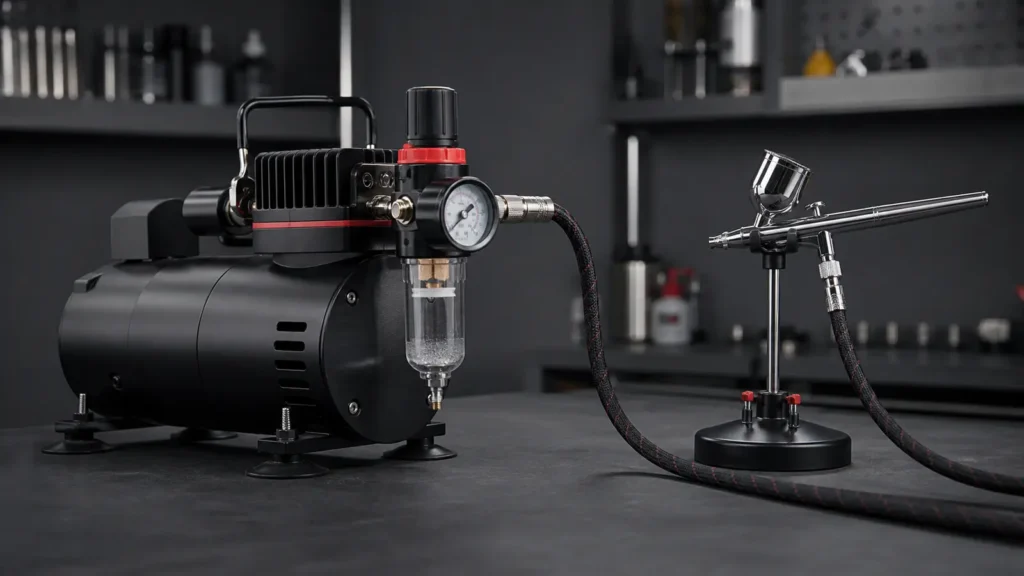
When the airbrush is paired with a compressor, approve the system rather than isolated components. The TC-20T record lists 23-25 L/min airflow, 6.5 bar / 95 PSI maximum pressure, a 3.0 L tank, 1/8-inch BSP adapter and three voltage/frequency configurations. The final private-label SKU must identify which voltage and plug version goes into each market and carton.
Gate 5: Lock finish, color and logo on physical parts
Metal finish changes with polishing, plating, paint, part geometry and lighting. A screen rendering cannot approve gloss, texture, color variation or logo contrast. Ask the airbrush ODM manufacturer for a physical finish and marking sample on the actual part whenever possible.
- Record the color reference, finish process, gloss direction and acceptable variation.
- Define which components change color and which remain standard.
- Approve logo method, dimensions, location, orientation and contrast.
- Check the mark after normal handling and cleaning appropriate to the product.
- Use the same master brand files for product, box, manual and carton.
Inspect orientation in use. The logo should face correctly when the airbrush is held and when the compressor sits on a workbench. A technically correct mark can still look wrong if it is approved only from a flat drawing.
Gate 6: Build accessories around first use and repeat use
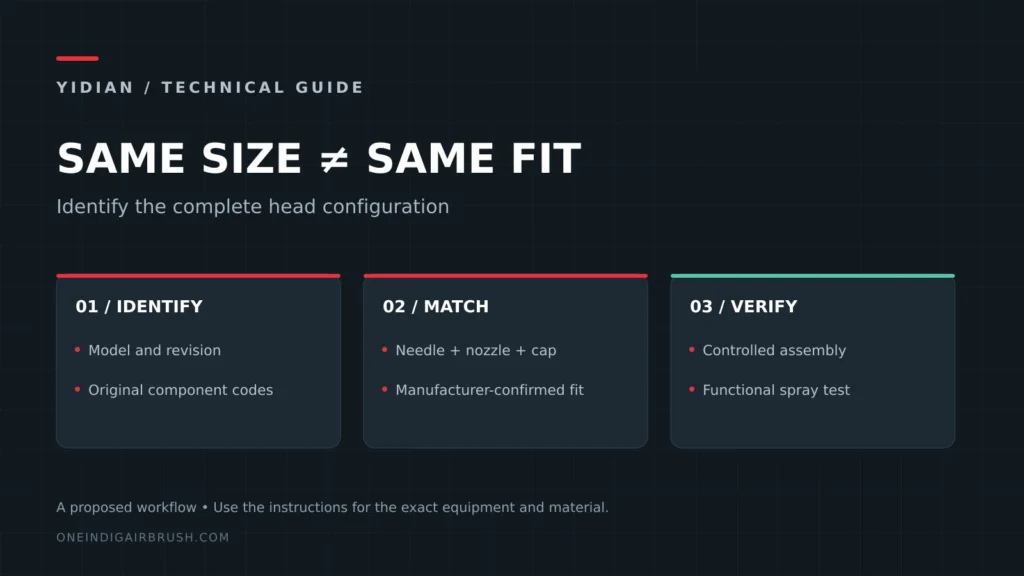
Accessories should remove setup friction, not increase the item count for marketing. Check every connection and every model reference. Similar-looking needles, nozzles and adapters are not automatically interchangeable.
A complete private label airbrush kit may include a hose, quick fitting, airflow valve, holder, cleaning brushes, nozzle tool, dropper, mixing cup, spare seal, needle or nozzle. Decide which parts belong in the initial kit and which should be available as replenishment SKUs. The package list and manual must use the same names.
For distributors, spare-parts continuity is part of the supplier decision. Ask how the factory identifies component revisions and prevents a later replacement part from being listed against the wrong platform.
Gate 7: Engineer the retail package and outer carton together
A retail box is not finished when the artwork looks good. It must hold the approved components, protect the nozzle and fittings, survive normal distribution handling and produce workable landed-cost data. Ask for the packed unit and outer carton, not only a digital proof.
YIDIAN’s current YD130 product record shows how one airbrush platform can have materially different packing directions:
| Package option | Unit data | Quantity / carton | Gross weight | Carton size |
|---|---|---|---|---|
| Single airbrush | Bubble wrap | 100 pcs | To confirm | To confirm |
| PP box | 200 g | 50 pcs | 13 kg | 55.5 x 42 x 24.5 cm |
| Small black box | 230 g | 50 pcs | 10.5 kg | 55.5 x 42 x 24.5 cm |
A custom insert, manual, accessory bundle or box board can change weight and fit, so these values should not be copied blindly into a new purchase order. Reweigh the final packed sample and reconfirm carton quantity, gross weight and dimensions before freight booking.
Retail package approval
- final product and accessory count;
- component positions and protection of precision tips;
- product name, model, nozzle and color identification;
- barcode quiet zone and scannable production proof;
- manual language and product-specific diagrams;
- manufacturer, importer or responsible-party details required by the target market;
- power, voltage and plug labeling where a compressor is included.
Outer-carton approval
- SKU, version, color, quantity and destination mark;
- carton dimensions, net weight and gross weight;
- barcode or shipping label location;
- mixed-carton rule, if any;
- sample condition after the agreed packing or transport check.
Gate 8: Approve instructions against the final kit
Generic instructions increase returns when their compressor, fitting or cleaning sequence differs from the product in the box. Write the manual after the final system is approved. Use the exact model names and show the actual connection order.
At minimum, cover package contents, setup, pressure adjustment, material preparation, trigger operation, cleaning, safe needle and nozzle handling, troubleshooting and replacement-part identification. Review technical and safety content for the destination market before printing. A private label airbrush manufacturer can check product accuracy, but the brand remains responsible for approving the claims and market requirements it places on the package.
Gate 9: Create the golden sample and production file
The golden sample is the physical result of all previous decisions. Identify it clearly and keep one reference with the buyer and one with the factory. The sample should point to the same revision of every production document.
| Production file | Minimum content |
|---|---|
| Product specification | Model, components, finish, functional criteria and approved revision |
| Bill of materials | Airbrush, compressor, hose, fitting, accessories and spare parts |
| Artwork set | Product mark, box, insert, manual, labels and carton mark |
| Inspection plan | Appearance, function, spray, leakage, compatibility and packing checks |
| Logistics sheet | Unit weight, carton quantity, net/gross weight and dimensions |
| Change record | Reason, sample result, approval and effective purchase order |
No material, component, finish, artwork or package change should enter production without review when it can affect fit, function, appearance, claims or compliance. This rule is especially important for repeat orders placed months after launch.
Gate 10: Release bulk production with a shipment plan
Before the purchase order, make sure the quotation references the approved SKU and scope. Separate one-time costs from repeat unit costs. Confirm payment terms, production timing, artwork deadline, inspection point, shipping term and the person authorized to approve changes.
Before shipment, review production samples against the golden sample and complete the agreed inspection. Verify product function, finish, logo, accessory count, manual, barcode, power version, carton mark, quantity and logistics data. A correct airbrush in the wrong market package is not a successful shipment.
Private label airbrush spare parts and sample acceptance
Plan the private label airbrush spare parts range before finalizing retail packaging. A branded needle packet should identify the exact compatible model and configuration, not only the nominal nozzle size. Keep the retail code linked to the factory part revision, and define who approves substitutions if the production configuration changes.
A private label airbrush sample approval checklist should record the functional sample, artwork revision, component count, spray-test conditions and remaining approval items separately. Use the buyer-supplier inspection framework and replacement-parts compatibility guide to build those records. These are planning tools; enter actual measurements and inspection results only after the sample has been checked.
Separate product, artwork and change approval
Private label airbrush artwork approval should identify the physical surface or package, file name, revision, color reference, dimensions, position and approved proof. It should not silently approve the airbrush function, kit contents or market claims. Keep those decisions on separate rows so a visual sign-off cannot release an untested configuration.
| Approval track | Evidence to retain | Do not assume |
|---|---|---|
| Product | Model revision, matched parts, functional observations and open deviations | That approved graphics prove performance |
| Artwork | Source file, proof, location, size, color reference and reviewer | That a screen proof equals the decorated production part |
| Packaging | Dieline, component layout, manual, barcode, labels and carton record | That an old packing file fits a revised kit |
| Change | Reason, affected SKUs/lots, sample comparison, decision and effective order | That a substitution is harmless because it looks similar |
Use airbrush packaging revision control to connect the approved dieline and insert to one product bill of materials. An OEM airbrush pre production sample should then show the selected finish, marking, components, instructions and pack-out together; record unknown or conditional items instead of converting them into assumed approvals.
A private label airbrush change control record should explain what changed, why, what was compared and who can release it. Prepare the scope with the OEM buyer paths, check functional evidence against the sample inspection framework, and use the brand buying brief to carry unresolved decisions into the supplier conversation.
Handoff the pre-production sample as one controlled package
Airbrush packaging artwork proof approval is only one part of release. The buyer should also approve the functional sample, parts list, instruction draft and pack-out condition under the same project code. If the product changes after artwork approval, the packaging proof must be reviewed again when the change affects claims, contents, dimensions or labels.
| Handoff file | Reviewer question | Release note |
|---|---|---|
| Functional sample | Does the airbrush and compressor combination meet the accepted use case? | Record open deviations instead of approving by silence. |
| Artwork proof | Does the printed proof match the product name, model, contents and market information? | Do not let artwork sign-off release untested parts. |
| Production sample | Does the packed unit match the BOM, manual, accessories and carton data? | Airbrush production sample handoff should include photos and revision IDs. |
| Change approval | What changed, which SKUs or lots are affected and who approved it? | Airbrush change approval record protects repeat orders from quiet substitutions. |
Keep the handoff short enough for a buyer, factory and packaging supplier to use it. The important control is not document volume; it is whether each decision has an owner, a revision and a condition for release.
Frequently asked private-label questions
Can an existing airbrush be sold under my own brand?
Yes, subject to the selected platform, marking method, packaging scope and commercial terms. A logo-only program is different from a full private-label airbrush kit with custom color, manual, barcode, accessories and carton marks, so request a scope-specific quote.
What should I send a private label airbrush supplier?
Send the target application, customer, market, price position, reference product, preferred nozzle and kit structure, destination voltage and plug, sample and order quantity, logo files, packaging direction, required documents and launch date.
When should packaging design begin?
Begin the structure after the product and accessory list is stable. Finalize printed artwork only after physical dimensions, component positions, required labels and the manual content are confirmed.
How do I keep repeat orders consistent?
Use a golden sample, revision-controlled specification, bill of materials, artwork, packing list and inspection plan. Require approval before changes to critical components, finish, markings or packaging take effect.
YIDIAN is a private label airbrush manufacturer and OEM airbrush factory in Huizhou, China. To review a new line, send the application, target market, quantity, preferred platform and branding scope. The first response can then identify the suitable standard options, sample decisions and information still required for a production quote.