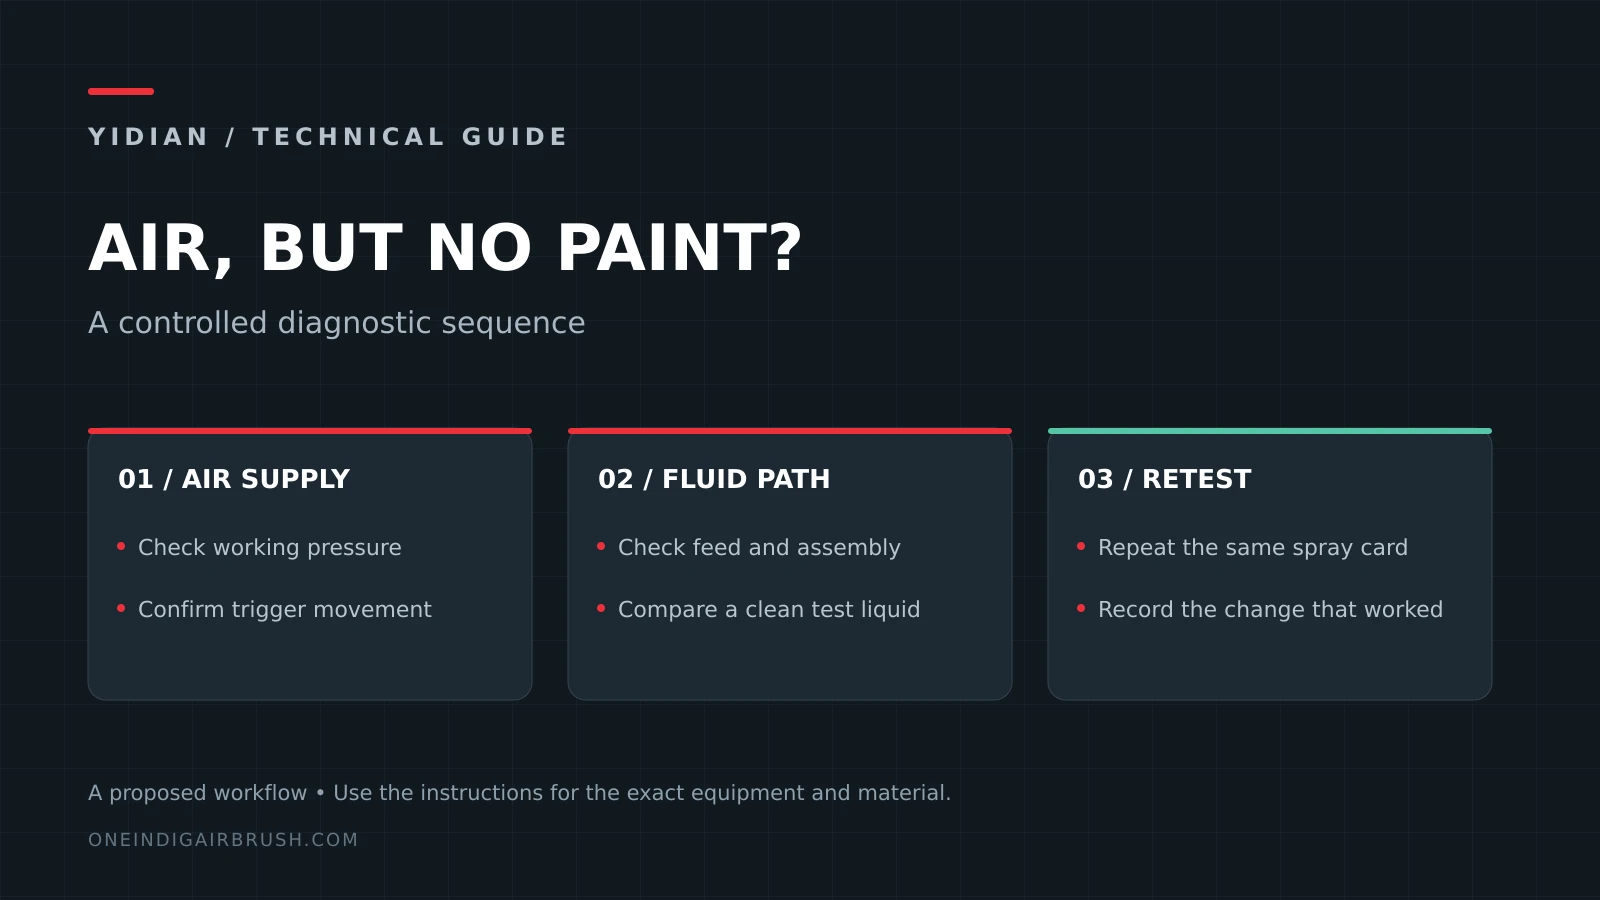
If an airbrush keeps clogging, the cause is usually not one single dirty part. Recurring restriction often comes from paint preparation, pigment size, drying at the needle tip, cleaner residue, a damaged nozzle, or a setup that is too fine for the material and session length.
This guide separates a temporary blockage from a repeat fault. It is written for users, service teams and private-label buyers who need a repeatable way to diagnose airbrush clogging paint problems without forcing the needle, enlarging the nozzle or replacing parts before the evidence supports it.
Quick answer: why an airbrush clogs again
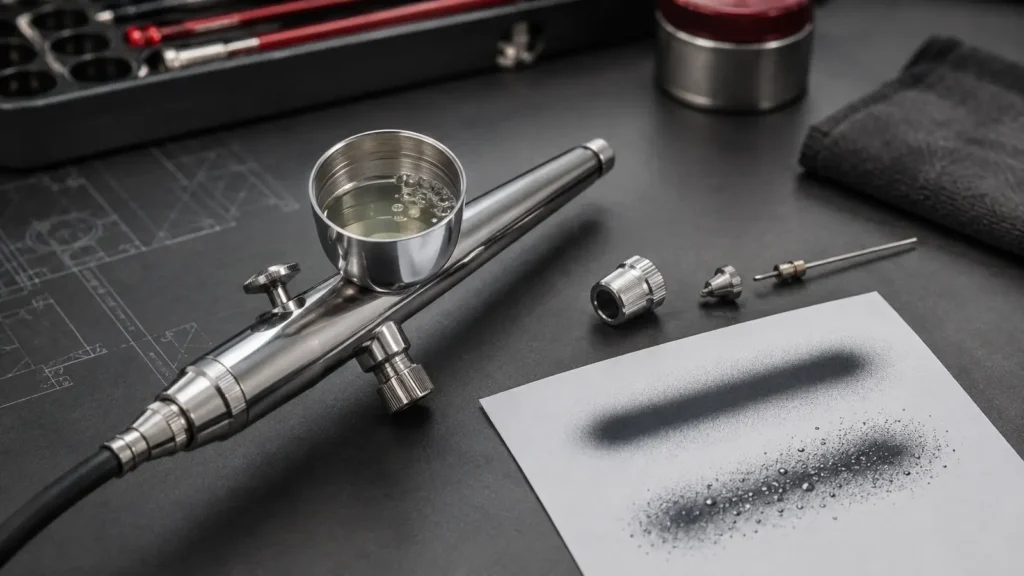
Start with the material before dismantling the airbrush. A clean-looking cup can still feed pigment skin, dried binder or incompatible reducer into a fine nozzle. A clean-looking front end can still have airbrush needle tip buildup after a few strokes. If the same airbrush clogs with one paint and sprays a compatible clean liquid normally, the problem is likely in preparation, filtration, material age, nozzle match or working environment.
| Repeat symptom | Most likely first area | Controlled next step |
|---|---|---|
| Flow stops after several fine lines | Tip dry, drying speed or low material reserve at the tip | Clean the exposed tip, adjust material preparation as instructed, then retest the same line pattern |
| Paint sprays briefly, then blocks again | Settled pigment, coarse particles or dried skin in the cup | Prepare a fresh small batch and use an airbrush paint filter before spraying when the coating process calls for filtration |
| Clean liquid sprays but paint fails | Viscosity, pigment size or nozzle suitability | Record reduction, nozzle size and working pressure before changing any setting |
| Restriction returns after deep cleaning | Hidden residue, reassembly error, cleaner residue or part damage | Run a clean-liquid baseline and inspect the needle/nozzle pair under light |
| Clogging begins after a color change | Incompatible residue, old color left in the passage or cleaner not fully cleared | Repeat the color-change flush and verify with the next material on a card |
A needle, wire or drill bit can turn a removable clog into a permanent nozzle defect. Use the airbrush and coating makers’ service instructions, and stop when a part does not move naturally.
Miniature and Gunpla clogging triage
Airbrush keeps clogging with miniature paint should be treated as a material-plus-setup problem until the evidence says otherwise. A new user may be spraying too close, pausing with paint at the tip, using primer through a fine nozzle, or starting from paint that was not mixed and reduced according to its maker’s instructions. The first useful record is still a labelled test card.
A beginner airbrush clogging fix is not simply “thin more” or “raise pressure.” Start with a clean-liquid baseline, then test a fresh small batch of the actual paint, inspect the visible needle tip and repeat at one controlled pressure point. Use the miniature pressure check and the beginner nozzle guide to keep the change sequence narrow.
Airbrush clogging during Gunpla primer needs its own note because primer can carry heavier solids than color coats. If the problem appears only with primer, document nozzle size, pressure under airflow, reduction method and session length before blaming the airbrush. Link the result back to the model painting setup guide and keep the support path open for a supplier sample review.
Airbrush tip dry vs clog: read the timing
Airbrush tip dry vs clog is a useful distinction. Tip dry is material drying on the exposed needle point during spraying. It may bend the pattern, break a fine line or release a speck. A deeper clog restricts the fluid path inside the nozzle, passage, cup outlet or pickup system. The two can happen together, but they need different fixes.
Tip dry often appears after short pauses, close detail work, warm airflow or fast-drying material. A deeper restriction often appears immediately after loading a contaminated batch, after a poor color-change flush, or after old residue loosens from inside the passage. Mark the timing on a card before cleaning so the symptom is not erased.
If the visible tip is the only problem, the spitting and tip-dry diagnostic guide helps confirm whether droplets come from dried material, moisture or pressure instability. If no paint reaches the card, use the air-only and no-paint sequence before removing parts.
Build an airbrush clogging troubleshooting chart
A practical airbrush clogging troubleshooting chart uses one test card and one change at a time. Do not thin paint, raise pressure, change nozzle size and deep-clean the head in one step. That can make the airbrush spray once while hiding the original cause.
| Test | Pass result | If it fails |
|---|---|---|
| Clean liquid at working pressure | Starts, runs and stops cleanly | Inspect feed path, trigger/needle movement and nozzle assembly |
| Fresh prepared paint | Same line pattern as the clean liquid with expected atomization | Review reduction, mixing, age, pigment size and filtration |
| Pause-and-restart test | No specks or delayed flow after a short pause | Investigate tip dry, cap deposits and drying conditions |
| Ten-second fill | Flow remains steady without pressure drop | Check cup feed, bottle vent, compressor delivery, hose and moisture control |
| Post-cleaning repeat | Same result after reassembly | Check for cleaner residue, shifted needle seating or a disturbed nozzle seal |
Keep the card with an airbrush clogging sample record: model, needle/nozzle set, material, reducer, batch age, filtration, working pressure, humidity if relevant, cleaning level and the single change made before each retest. This record is more useful to a distributor or supplier than a general complaint that the airbrush is “blocked again.”
Cause 1: paint is not prepared for the nozzle
Airbrush paint reduction clogging happens when the material is too thick, partly cured, poorly mixed or incompatible with the reducer used. Fine nozzles have less tolerance for pigment clusters, heavy primer, settled metallics and skin from an open container. A larger nozzle can often pass heavier material more reliably, but the change should be tested rather than assumed.
Prepare a small fresh batch according to the coating maker’s instructions. Mix thoroughly, let bubbles settle if the material calls for it, and strain only through a material-appropriate filter when filtration is part of the process. Do not create a universal ratio for every acrylic, lacquer, primer, ink or food-safe coating.
When comparing nozzle options, use the 0.2, 0.3 and 0.5 mm nozzle guide to match material tolerance, detail and compressor demand. The number printed on a nozzle is one part of the setup, not a guarantee that every paint will pass cleanly.
Cause 2: acrylic paint or primer dries before it exits cleanly
Airbrush nozzle clogging acrylic paint is common when water-based material dries on the needle tip or at the nozzle opening faster than the spray process can clear it. Environment, air speed, distance, reducer choice and session length all matter. Repeatedly wiping the tip may keep a session moving, but it does not solve an unsuitable setup.
Airbrush clogging with primer deserves separate testing because primer may contain heavier solids than color coats. Use the primer maker’s airbrush guidance, choose a nozzle that can pass the prepared material, and confirm that the compressor maintains the required working pressure during a longer fill.
For model shops, airbrush keeps clogging model paint complaints should record the exact paint line, age, thinner, nozzle, pressure under airflow and whether the problem appears on bare plastic, primer or a test card. Use the model-painting setup guide to keep the spray card consistent across materials.
Cause 3: residue remains after cleaning
Airbrush keeps clogging after cleaning can mean the cleaning process loosened old material without removing it, or it can mean reassembly introduced a new restriction. Cleaner left in the cap or passage can also disturb the next paint batch. This is why the final proof of cleaning is a controlled spray test, not only a clear-looking cup.
Airbrush cleaner residue clogging is a risk when an incompatible cleaner reacts with the next material, softens residue without flushing it away, or dries into a film. Follow the airbrush and coating instructions for cleaner choice, contact time and final flush. If a product manual tells you not to soak seals or valve parts, do not use a full-body soak as a shortcut.
The airbrush cleaning SOP separates color-change flushing, end-of-session cleaning and fault-driven deep cleaning. Use that order before escalating to needle/nozzle replacement.
Cause 4: the nozzle, cap or needle has changed condition
A small crack, distorted nozzle opening, bent needle tip or missing seal can trap material and make every cleaning attempt temporary. A damaged nozzle can pass water while still disrupting paint. A bent needle can collect material on one side, making the pattern look like a material problem.
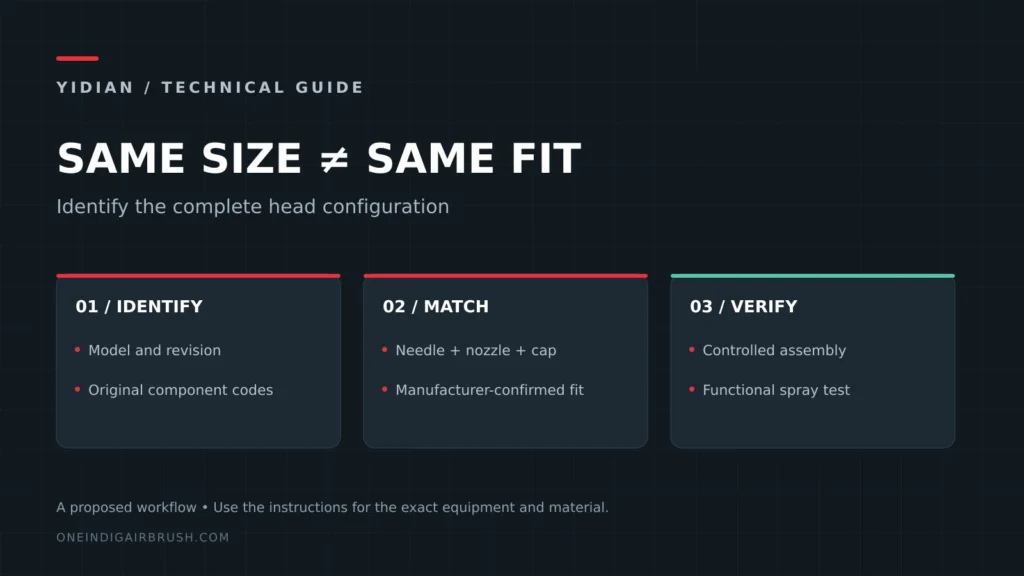
Inspect the needle and nozzle under bright light. Do not press the needle forward to clear the opening. If a replacement was installed before clogging began, confirm that the needle, nozzle and cap belong to the same model and size family. Use the needle and nozzle compatibility guide when a visually similar spare part does not restore stable flow.
If bubbles appear in the cup while the clog is present, check the cup-bubble diagnostic sequence because backflow points toward front-end sealing or a restricted head path.
Cause 5: pressure and feed do not support the material
Low or unstable working pressure can make a good material look blocked because atomization breaks down and wet particles collect around the tip. Excessive pressure can dry material faster at close range and increase overspray. A bottom-feed bottle with a blocked vent can also create an airbrush intermittent paint flow clog pattern even when the nozzle is clean.
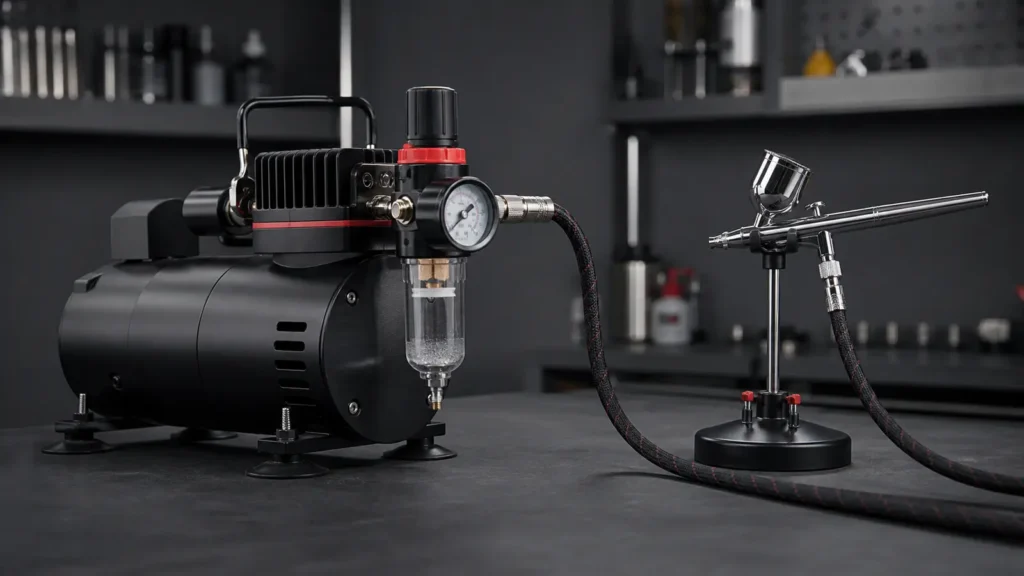
Set pressure while air is flowing, not while the system is static. Run a ten-second pass and watch whether the gauge settles or keeps falling. If the air path is stable with clean liquid but the paint stops, return to material preparation. If both clean liquid and paint fade, inspect the compressor, hose, fitting, moisture trap and airbrush air valve.
The working-pressure guide explains how to record static and flowing pressure before changing compressor or regulator specifications.
When the airbrush clogs every few minutes
If an airbrush clogs every few minutes, treat the interval as data. Record whether it happens after the same number of passes, after every pause, after the compressor warms, or only after refilling the cup. Repeating timing usually points to tip dry, heat, humidity, material settling, bottle venting or a part that shifts during use.
- Spray a clean-liquid line for the same duration.
- Prepare a fresh small paint batch and label the reduction method.
- Filter the material only if the coating process permits and requires it.
- Spray five identical lines, then pause for the same interval that caused the clog.
- Inspect the tip and cap before wiping them.
- Repeat at one adjusted pressure point while air is flowing.
- Repeat with a larger compatible nozzle if the material maker allows it.
- Record the first change that stops the repeat interval.
This sequence prevents a service team from solving today’s session by accident and sending the same weak setup back to the user.
Airbrush clogs after color change
Airbrush clogs after color change usually means the previous material, cleaner and next material were not compatible in the passage, or the flush stopped before the old binder was removed. Dark or high-pigment colors may leave residue that is hard to see after the cup looks clear. Some materials can also form particles when mixed with the wrong cleaner or reducer.
Use a narrower color-change routine: empty the cup, wipe accessible residue, flush with the approved cleaner, clear the cleaner, then test the next material on a card before returning to the work. Save full teardown for a confirmed restriction or end-of-session service. When a retail kit includes cleaning accessories, test the instructions with a beginner before printing packaging.
Airbrush clog prevention checklist for buyers and service teams
A useful airbrush clog prevention checklist belongs in both user instructions and sample approval. It should not promise that no clog can occur; it should make preventable causes visible.
- Specify material types and nozzle ranges that were actually tested.
- Record reducer, mixing and filtration instructions from the material maker.
- Set pressure under airflow and record the test-card distance.
- Define color-change, end-of-session and deep-clean routines separately.
- Include correctly sized cleaning tools instead of oversized metal picks.
- Match spare needles, nozzles and caps by model and revision.
- Verify spray recovery after cleaning and reassembly.
- Keep a failed spray card with the sample or service record.
For OEM and wholesale programs, connect this checklist with the sample quality-control record and the complete kit checklist. A clogging complaint may come from the airbrush, the compressor, the cleaner, the accessory set or the printed instructions.
FAQ
Why does my airbrush keep clogging even after I clean it?
The cleaning step may not be removing residue from the actual restriction point, or the next paint batch may be reintroducing particles, incompatible reducer or fast-drying buildup. Run a clean-liquid baseline, then test a fresh prepared batch before deep-cleaning again.
Should I thin the paint more every time it clogs?
No. Follow the material maker’s reduction guidance. Over-reduction can create weak coverage, spidering or adhesion problems while leaving the original contamination or nozzle mismatch unresolved.
Can a small nozzle clog more often?
A fine nozzle is less tolerant of coarse pigment, thick primer, dried residue and poor filtration. It should be matched to the material and task rather than forced to handle every coating with higher pressure.
Is a clog the same as tip dry?
No. Tip dry is buildup on the exposed needle tip during spraying. A clog can be deeper in the nozzle, cup outlet, passage or bottle feed. The timing and clean-liquid test help separate them.
Fix the repeat cause before changing parts
When an airbrush keeps clogging, preserve the symptom, test clean liquid, prepare a fresh material batch, inspect visible tip buildup and record one change at a time. Escalate to nozzle inspection or replacement only when cleaning, material preparation and working-pressure checks have not restored a repeatable spray.
YIDIAN supplies gravity-feed airbrushes, replacement components, mini compressors and private-label kits for distributors and brands. Send the material, nozzle size, clogging interval, working pressure and target order quantity to discuss a sample-validation or troubleshooting plan.
Technical references: Iwata airbrush troubleshooting procedures, the Iwata airbrush cleaning guide and Iwata airbrush paint guidance.