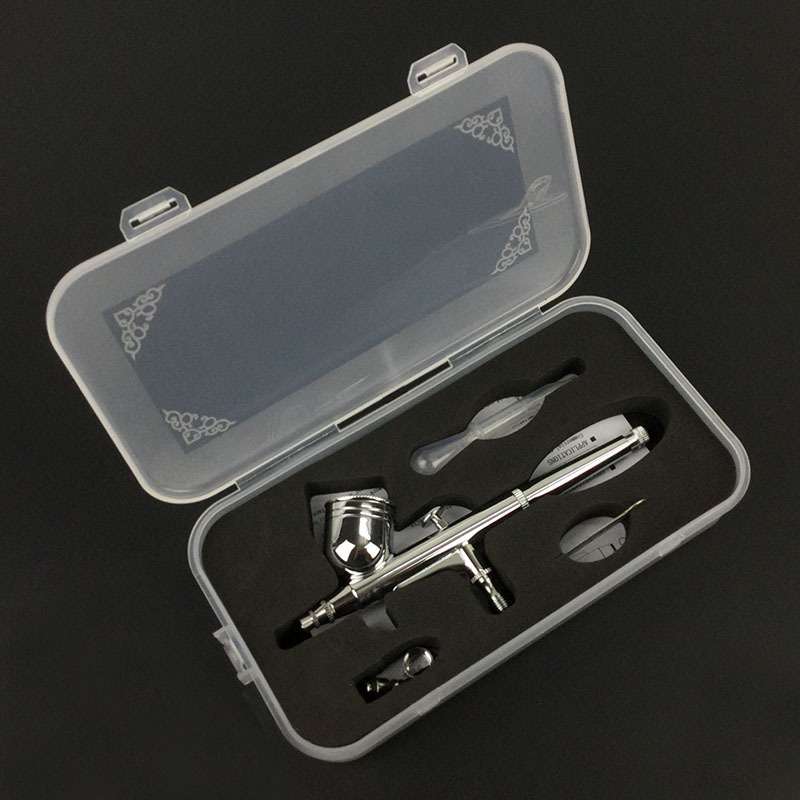
Airbrush bubbles in the cup usually mean compressed air is entering the fluid passage instead of leaving only through the front of the airbrush. Start by checking the head and nozzle area: a loose cap, poor nozzle-to-body seal, partial blockage or damaged nozzle can all create this backflow.
Do not respond by tightening every component or pushing a hard tool through the nozzle. The safer method is to preserve the symptom, test with an approved clean liquid, and move from external checks to internal inspection one step at a time. This guide gives users, service teams and OEM buyers a repeatable order for finding the fault without turning a small sealing problem into damaged precision parts.
Quick answer: what causes bubbles in an airbrush cup?
On a gravity-feed airbrush, unwanted cup bubbles most often point to one of four areas:
- The nozzle cap or air cap is loose or incorrectly seated.
- The nozzle-to-body connection is not sealing correctly.
- Paint or debris is restricting the nozzle or front air path.
- The nozzle is cracked, distorted or no longer matching the needle correctly.
The exact construction differs between screw-in nozzles, self-centering nozzles and cartridge-style heads. Use the service instructions for the specific model before removing, sealing or tightening a precision component.
Bubbles created deliberately during a manufacturer-approved backflush are not the same as bubbles that appear during normal spraying. Diagnose only unintended backflow, and use backflushing only when the airbrush and material instructions permit it.
Ask about a replacement partSend your question here
Tell YIDIAN what you need. You can start with a question; a company name, final quantity or finished specification is not required.
Beginner cup-bubble triage after setup or cleaning
Airbrush bubbles in cup after cleaning usually means the cleaning session changed a front-end condition. Before tightening a fine nozzle, confirm cap order, needle seating, seal position and whether cleaner remains in the head. A short clean-liquid test is safer than forcing the tool to spray paint immediately after reassembly.
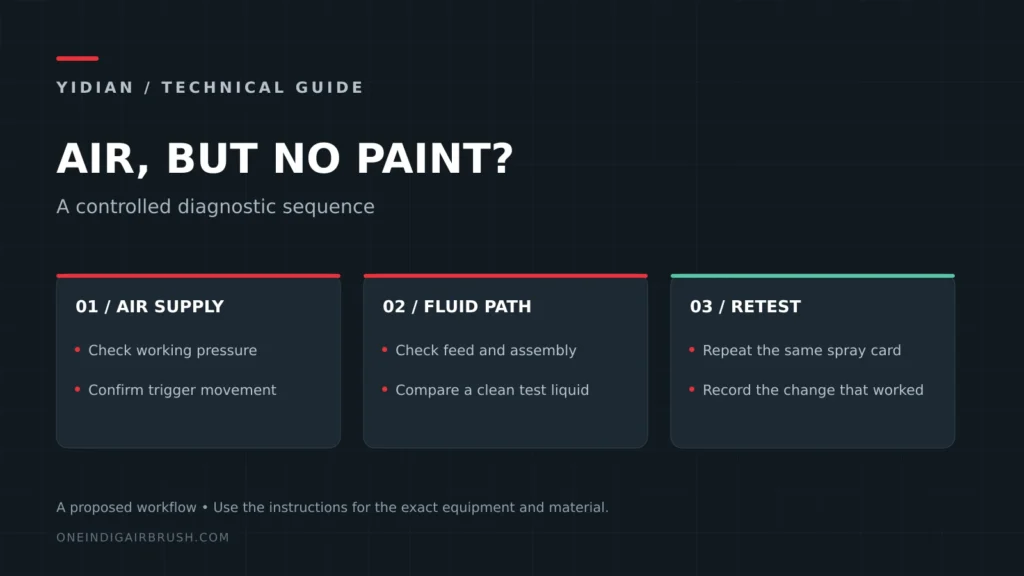
An airbrush bubbles in cup beginner fix should be written as a controlled order, not a promise that one adjustment always works: stop spraying, depressurize, check cap seating, test a compatible clean liquid, inspect the matched needle/nozzle set and then repeat the same card. If the same setup also has no paint flow, move to the air-only/no-paint diagnostic; if it began after a replacement, verify the needle and nozzle match.
Airbrush back bubbling miniature paint can still be a sealing or blockage issue rather than only a paint-thinning problem. Record the miniature material, nozzle, pressure and whether the clean-liquid baseline bubbles. Then connect the user to the model painting setup guide and the cleaning SOP so the next support step does not erase the symptom.
Read the symptom before taking the airbrush apart
The timing and appearance of the bubbles narrow the search. Record what the airbrush is doing before cleaning changes the evidence. Note the material, reduction, nozzle size, working pressure, trigger position and whether the problem began after reassembly, a color change or a needle impact.
| Observed behavior | Likely first area | Controlled next check |
|---|---|---|
| Bubbles begin as soon as air is pressed | Head seal, cap seating or blocked front air path | Inspect cap fit and visible contamination with the system depressurized |
| Bubbles appear only when paint is pulled back | Partial fluid restriction or material build-up | Compare an approved clean test liquid with freshly prepared paint |
| Bubbles started immediately after cleaning | Incorrect reassembly, missing seal or poorly seated nozzle | Compare the assembly with the model diagram |
| Bubbles occur with spitting or an off-center pattern | Nozzle contamination, poor seating, bent needle or nozzle damage | Inspect the matched needle and nozzle under good light |
| No bubbles with clean liquid, but bubbles with paint | Material preparation or a paint-related restriction | Mix, reduce and strain a fresh batch as instructed by the coating maker |
Check post-cleaning and replacement symptoms separately
Airbrush bubbling after cleaning often means the cleaning step changed the assembly condition. Before adding force, compare the cap order, needle seating and any seal position with the model diagram. Cleaner trapped in the cap can also imitate a paint fault, so repeat the clean-liquid baseline and record whether the bubbles appear with air only or only when paint is introduced.
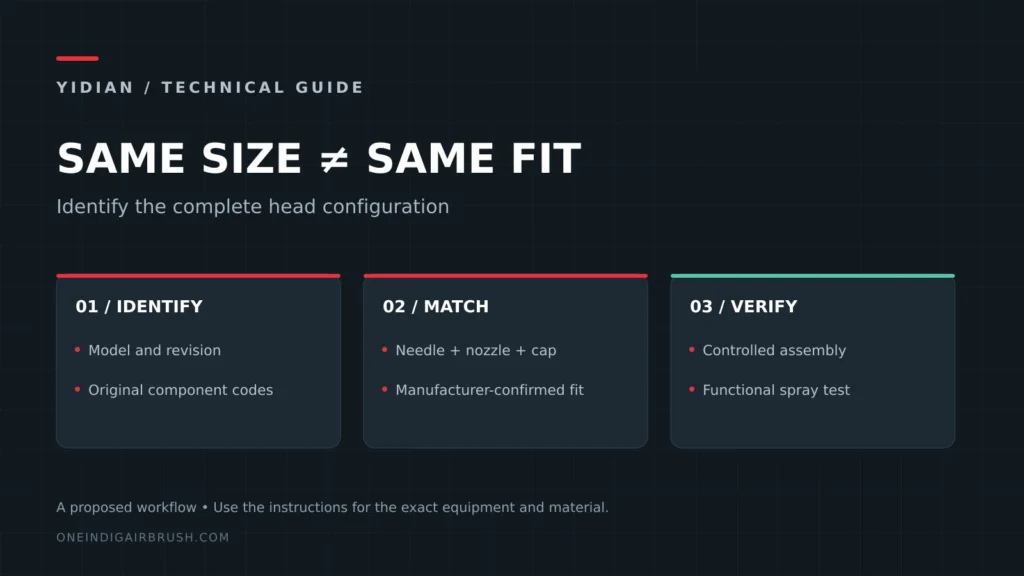
Airbrush bubbles after nozzle replacement should trigger a compatibility and seating check. A visually similar nozzle may not match the needle taper, cap geometry or head seat. If the same cup now shows airbrush cup bubbles no paint, the issue is likely around front-end sealing or a blocked air path rather than paint viscosity. Use the needle and nozzle compatibility guide before testing another part.
An airbrush nozzle seal leak test for buyers should be simple and repeatable: record the installed parts, hold air for five seconds, watch the cup, spray clean liquid, then repeat after a short pause. If the result changes after cleaning, route the sample to the cleaning recovery check; if it changes with pressure, use the working-pressure guide. Keep the card and observations with the QC sample record.
Step 1: establish a safe test baseline
Move the workpiece away and use a ventilated test area appropriate for the material. Empty the cup and follow the coating and cleaner instructions for personal protection, fire safety and disposal. Disconnect or depressurize the equipment before touching the head components.
Use a white test card and an approved clean test liquid. Set pressure while air is flowing rather than relying on the static gauge. If the airbrush bubbles with clean liquid, the fault is unlikely to be caused only by pigment size or paint reduction. If the clean liquid sprays normally, prepare a small fresh batch of paint and compare without changing the mechanical setup.
For the pressure-setting method, use the airbrush working-pressure guide. Pressure is part of the test condition, but excessive pressure is not a repair for a leaking or damaged nozzle connection.
Step 2: inspect the nozzle cap and air cap
A loose or incorrectly seated cap can disturb the intended airflow around the nozzle. Dried material inside the cap can also restrict the front air path. With the system safe and depressurized, remove only the components permitted by the model instructions and look for coating build-up, damaged threads, cross-threading or a cap that is not sitting square.
Clean accessible deposits using the approved cleaner and a soft tool sized for the component. Reinstall the cap according to the maker’s tightening instruction. “Finger tight” and “use the supplied wrench” are model-specific directions, not interchangeable rules. Never add force simply because bubbles remain.
Step 3: check the nozzle-to-body seal
The nozzle connection separates the high-pressure air path from the fluid path. If that connection does not seal, air can move backward into the cup. The cause may be contamination on the mating surface, a nozzle that is not centered, damaged threads, a missing model-specific seal, or a fine crack that is difficult to see.
Follow the parts diagram while checking that every seal and component is present and facing the correct direction. Some airbrush designs use a self-centering nozzle; others use a small threaded nozzle or a separate head assembly. Do not add generic thread tape, adhesive or sealant unless the manufacturer specifically approves it for that location. Material placed near a micro-nozzle can enter the passage and create a second blockage.
Step 4: remove a verified nozzle restriction safely
A partial obstruction can change the pressure balance at the front end and force air toward the cup. Common sources include cured coating, dried pigment, fibers from cleaning material and debris introduced during reassembly. Begin with the least invasive cleaning level that restores flow.
- Soften compatible residue only with the cleaner and contact time approved for the material and airbrush.
- Use a soft brush or purpose-made cleaning tool without enlarging the nozzle opening.
- Keep the fine nozzle supported; do not hold it by delicate threads while applying side force.
- Rinse or flush as directed, then inspect under bright magnification.
- Reassemble and repeat the same clean-liquid test card.
Needles, drill bits, sewing pins and improvised wire can flare or score a precision nozzle. A passage that looks open may then leak or produce an asymmetric pattern. The airbrush cleaning SOP explains when to use a color-change flush, end-of-session cleaning or a fault-driven deep clean.
Step 5: inspect the needle and nozzle as a matched pair
A bent needle may not close concentrically against the nozzle. A split or distorted nozzle can leak air backward even after it is clean and seated correctly. Roll the clean needle gently on a flat, well-lit inspection surface if the manufacturer permits, and view the tip without touching it. Inspect the nozzle opening for an uneven edge, hairline split or deformation.
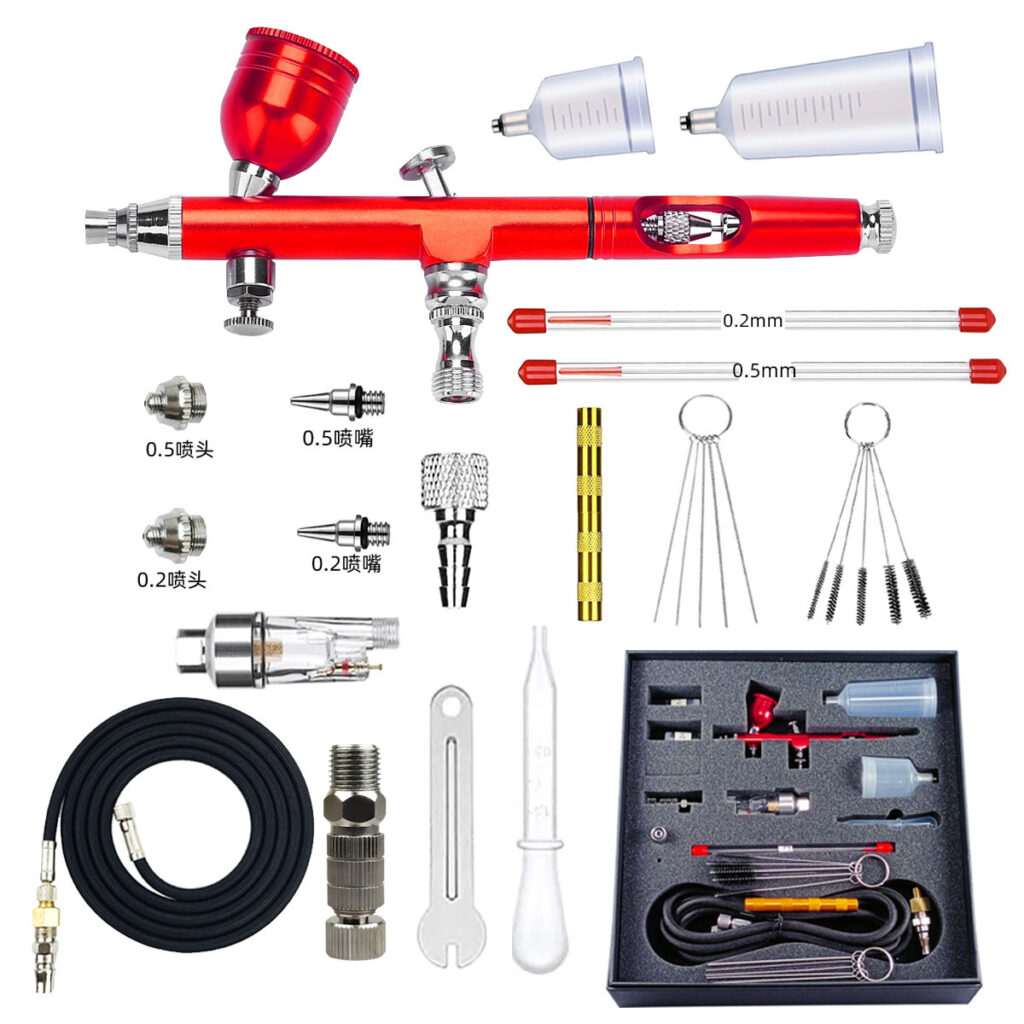
Replacement parts must match the airbrush model and size. A needle labeled 0.3 mm is not automatically compatible with every 0.3 mm nozzle because taper, length, seat geometry and head design differ. When the maker supplies needle, nozzle and cap as a matched set, replace them as that set. Our 0.2, 0.3 and 0.5 mm nozzle guide explains why nominal diameter alone does not define spray behavior.
What not to do when the cup bubbles
- Do not overtighten a fine threaded nozzle. It can split, distort or break inside the body.
- Do not increase pressure as the first response. More pressure can intensify the backflow and hide the real fault.
- Do not soak the complete airbrush automatically. Cleaner compatibility varies across seals, valves, finishes and plastic parts.
- Do not mix needles, nozzles and caps by visible similarity. Use model and revision records.
- Do not change several variables at once. A clean test card after each step identifies which action mattered.
How bubbles relate to spitting and no-paint faults
Cup bubbles may occur with other symptoms, but they do not prove that every part is dirty. If the airbrush also spits, compare the bubble timing with moisture, tip-dry and trigger behavior. The airbrush spitting diagnostic guide separates coarse droplets, intermittent water and rhythmic pulsing.
If air flows but no paint sprays, first confirm that the needle moves, the material is prepared correctly and the fluid passage is open. A bottom-feed airbrush also depends on its bottle vent and pickup path. Bubbles in a gravity cup, by contrast, focus attention on backflow through the front-end sealing and fluid path.
When bubbles appear with repeated blockage, use the airbrush repeat-clogging workflow after the backflow check. It keeps nozzle restriction, cleaner residue, paint filtration and pressure conditions separate so the same sample is not over-tightened or over-cleaned.
A repeatable repair-verification test
After each corrective step, return to the same baseline rather than judging the result on a live project:
- Record the installed needle/nozzle set, clean test liquid and working pressure.
- Press air for five seconds and observe the cup without introducing paint.
- Spray a short line, a row of dots and a ten-second continuous pass.
- Check for bubbles, delayed flow, pulsing, tailing and an off-center pattern.
- Stop paint before air and inspect whether the nozzle closes cleanly.
- Repeat once after a short pause to identify a restart fault.
When cup bubbles appear with pulsing
Airbrush pulsing cup bubbles should be treated as two observations, not one vague complaint. The bubbles show that air may be entering the fluid path; the rhythm tells you whether that backflow is steady, pressure-related or triggered by paint pickup. Hold air only, watch the cup, then repeat with clean liquid before paint. If the bubble rhythm matches the spray rhythm, use the gravity-feed pulsing check and keep the nozzle-seat evidence before tightening or replacing parts.
The repair passes only when the bubbles are gone during normal operation and the spray pattern remains stable. “It sprayed once” is not enough evidence for a service release or production sample.
OEM and wholesale quality-control implications
For distributors and private-label programs, unwanted cup bubbling is a useful front-end assembly indicator. A sampling plan should record the airbrush model, part revision, needle/nozzle lot, assembly torque or approved fit method, test liquid, working pressure and spray-card result. The test must use the final hose, adaptor and compressor configuration when the product is sold as a kit.
Incoming and final inspection should confirm that the head components are complete, correctly matched and free of visible damage. Service parts need clear labels so a replacement needle or nozzle cannot be mixed with a visually similar version. Packaging instructions should explain the approved cleaning and assembly steps without encouraging users to overtighten the smallest component.
A retained spray card or controlled digital image can help compare samples and production lots. If a failure repeats, trace it to component machining, cleaning, assembly, handling or packaging instead of treating each return as an isolated user complaint. Review the broader OEM airbrush manufacturer audit framework for sample validation and change control.
Route cup-bubble evidence before replacing parts
An airbrush cup bubble support packet should keep backflow evidence separate from paint-preparation evidence: cap order, clean-liquid result, cup bubbles with air only, bubbles with liquid and any part recently changed. This is more useful than a general complaint that the airbrush is leaking air.
A backflow nozzle seal handoff should include the model, needle/nozzle/cap set, seal condition, cleaning level and whether the same fault appears after reassembly. If the case began after a replacement, compare it with the needle and nozzle compatibility guide before assuming a cracked nozzle.
Use a cup bubbles replacement parts triage only after cap seating, contamination, pressure and matched-part checks are recorded. For distributor or private-label programs, send the spray-card result and target kit context through the parts request form and keep the QC checklist attached to the sample file.
Airbrush cup bubbling FAQ
Why does my airbrush cup bubble when I press only for air?
Air-only bubbling points strongly toward the head area: check cap seating, the nozzle-to-body connection, a restricted front air path and nozzle damage according to the model manual.
Can thick paint cause bubbles in the cup?
Thick or contaminated paint can restrict the fluid path and contribute to backflow, especially when bubbles appear only as paint is introduced. Compare with an approved clean test liquid before changing hardware.
Will cleaning the nozzle always fix cup bubbles?
No. Cleaning helps when residue is the cause, but a loose cap, poor seal, incorrect assembly or cracked nozzle needs the corresponding mechanical correction or replacement.
Should I use thread sealer on the nozzle?
Only if the airbrush manufacturer specifies a compatible sealer and exact location for that model. Generic tape, adhesive or excess sealant can damage threads or block a small passage.
When should the needle and nozzle be replaced?
Replace parts when inspection confirms a bend, split, distorted opening or persistent sealing fault after correct cleaning and assembly. Use the exact model-compatible components and matched set where required.
Airbrush bubbling and not spraying: distinguish the two observations
An airbrush bubbling and not spraying combines a backflow observation with a failed fluid-delivery result. Record both. The bubbles support a head-sealing investigation, while the lack of paint still needs confirmation of needle travel, feed and material preparation. Follow the air-only/no-paint diagnostic sequence without changing several settings at once.
For an importer investigating repeated returns, retain the affected configuration and original test result before adjustment. The airbrush quality control checklist provides fields for conditions, observations and disposition. If the symptom began after a part change, confirm the needle, nozzle and cap combination rather than assuming that matching diameter means matching fit.
Diagnose backflow in a controlled order
Unwanted air bubbles in an airbrush cup are evidence of backflow, not a reason for random disassembly. Establish a clean-liquid baseline, inspect the cap, verify nozzle seating, remove only confirmed contamination, and then evaluate the matched needle and nozzle for damage. Record each change and repeat the same test card.
YIDIAN supports airbrush and complete-kit programs for distributors and private-label brands. Send the airbrush model, nozzle size, symptom timing, test liquid, working pressure and order quantity when you need a sample-validation or quality-control plan.
Technical references: Iwata airbrush troubleshooting procedures and the Iwata airbrush cleaning guide.