Airbrush pulsing is a rhythmic change in air, paint delivery or spray density. It is different from one random spit, a blocked nozzle, or ordinary tip dry. A pulse can come from the compressor, regulator, hose, moisture trap, a leaking head joint, a restricted paint path or a needle/nozzle pair that no longer seals consistently.
The correct response is not to replace the nozzle first. Separate the air circuit from the paint circuit, test a clean liquid before returning to paint, and record one changed condition at a time. This guide gives users, distributors and service teams a repeatable sequence for diagnosing an airbrush that pulses when spraying without damaging precision parts or hiding the original cause.
Quick answer: isolate air, head seal and paint flow
If you are asking why does my airbrush pulse, start by observing whether the rhythm exists with air only, with clean test liquid, or only with the intended paint. A pulse with air only usually points toward the compressor, regulator, hose, connector, valve or a leak. A pulse that appears only after liquid is introduced points toward the head seal, nozzle, needle, cup feed, bottle vent, tip dry or material preparation.
- Run air only. Hold the trigger for air and listen for compressor rhythm, valve flutter, leaks or regulator movement.
- Record working pressure. Read the gauge while air is flowing, not while the system is static.
- Spray a clean test liquid. Use water only when it is compatible with the material system and airbrush seals.
- Watch the cup. Continuous bubbles move the diagnosis toward the head and nozzle seal.
- Compare prepared paint. If paint pulses but clean liquid does not, check reduction, filtration, tip dry and material settling.
- Inspect the matched front end last. Needle, nozzle and cap geometry matter more than nominal size alone.
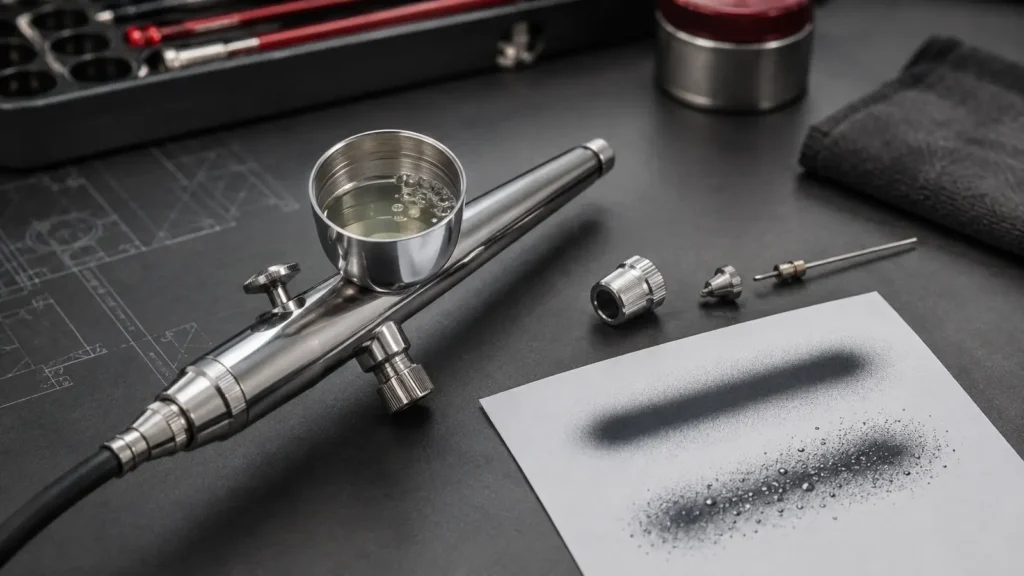
Make a labelled spray card before cleaning or replacing parts. Once the airbrush is cleaned, the original rhythm, droplet size and recovery pattern may be gone.
Airbrush pulsing diagnostic sequence
A useful airbrush rhythmic spray pattern record has three lines on the same card: air-only timing, clean-liquid spray and prepared paint. Mark the pressure under flow, nozzle size, feed type, material and whether the compressor motor cycled during the fault. This simple record separates a supply-side rhythm from a fluid-side rhythm.
| Observation | Most likely first area | Next controlled check |
|---|---|---|
| Air sound rises and falls with no liquid loaded | Compressor output, regulator, hose, coupling or air valve | Check working pressure, leaks and compressor cycling before touching the head |
| Clean liquid pulses the same way as paint | Air path, head seal, nozzle seating or valve movement | Inspect external air stability, cup bubbles and front-end assembly |
| Clean liquid is stable but paint pulses | Paint preparation, tip dry, pigment settling or partial restriction | Prepare a fresh small batch and repeat without changing pressure |
| Pulsing appears after cleaning or reassembly | Needle seating, cap order, seal placement or cleaner residue | Compare the model diagram and run the same clean-liquid baseline |
| Pulsing begins after a nozzle change | Part mismatch, damaged seal, off-center cap or incorrect head set | Verify the exact needle, nozzle and cap combination before applying force |
Use clean liquid before blaming paint or parts
An airbrush pulsing clean liquid test is the fastest way to narrow the fault. Empty the paint, clean only to the level allowed by the material and airbrush instructions, then load a compatible test liquid. Keep the same pressure, distance and trigger movement. If the pulse remains, the fault is less likely to be only paint viscosity. If the pulse disappears, the material path still needs review before hardware is replaced.
For airbrush pulsing with paint, prepare a fresh small batch instead of using material that may have dried at the cup edge or settled in the bottle. Mix according to the coating maker’s guidance and filter only when the process permits it. Do not invent a universal thinning ratio; a lacquer, acrylic primer, ink or edible color system can have different limits and safety requirements.
If the paint begins normally and then pulses after short pauses, compare it with the repeat-clogging workflow. If the first output is a wet blob rather than a rhythm, use the spitting vs pulsing check before disassembling the head.
Separate compressor pulse from paint restriction
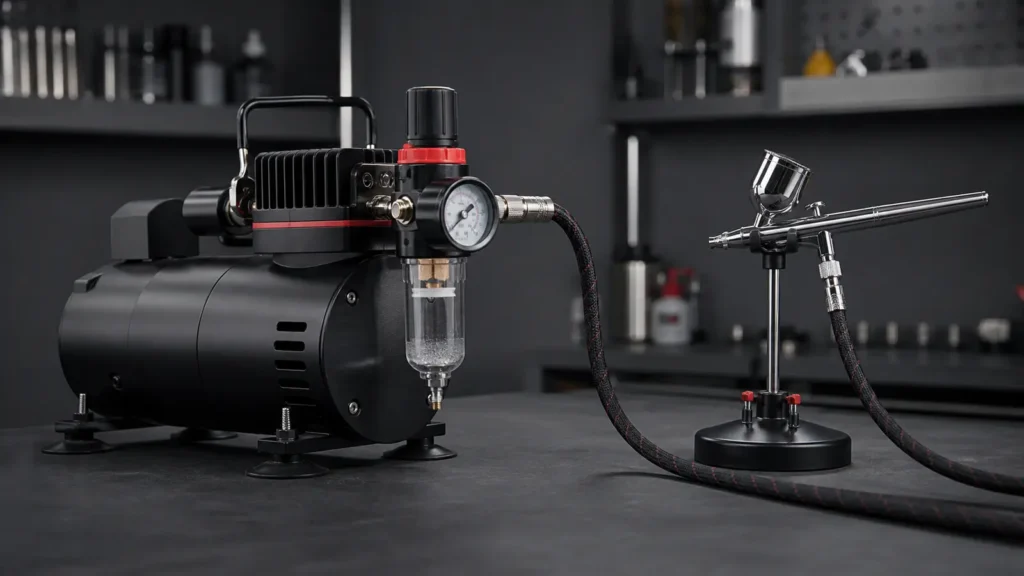
Airbrush pulsating airflow can come from the supply side even when the airbrush is clean. Read the regulator while pressing for air. If the gauge repeatedly rises and falls, if the motor cycle matches the pulse, or if the sound changes through a long pass, stay on the compressor-to-hose path. A tank can smooth some output, but it does not fix a leaking fitting, a restricted filter, a kinked hose or a compressor that cannot support the selected airbrush under load.
The most useful airbrush compressor pulse vs paint restriction check is a sequence: air only, clean liquid, then paint. If all three pulse, inspect delivered airflow, regulator behavior, quick couplings, hose and the air valve. If only paint pulses, inspect cup feed, bottle venting, tip dry, material settling and nozzle cleanliness. The pressure-drop branch and compressor ripple test keep these observations separate.
Gravity-feed pulsing and cup clues
Airbrush pulsing with gravity feed is often easier to observe because the cup is visible. Watch for bubbles while air is flowing, a swirl at the cup outlet, or a pattern that weakens when the paint level drops. Persistent bubbles suggest air entering the fluid path near the nozzle seat or head seal. A clean cup with no bubbles but unstable paint output points more toward material preparation, tip dry or pressure variation.
If the cup bubbles at the same rhythm as the spray, use the cup-bubble pulsing check before tightening a fine nozzle. If the pulse appears only in bottom-feed mode, inspect bottle venting, pickup tube position and the pressure required for siphon pickup with the feed-system comparison guide.
Loose head, nozzle seating and seal damage
An airbrush loose head pulsing pattern may show as rhythmic density change, cup bubbles, an off-center fan, or a spray that improves briefly after the cap is touched. That does not mean every front-end part should be tightened harder. Small threaded nozzles, self-centering seats and head seals can be damaged by extra force or incompatible sealant.
Depressurize the system, clean the mating surfaces, inspect the cap and nozzle position under good light, and reinstall only by the model’s service method. If a seal is missing, swollen or cut, identify the correct replacement. Generic thread tape or adhesive near a micro passage can migrate and create a second restriction.
Needle and nozzle pulsing after a parts change
Airbrush needle nozzle pulsing can appear when the needle taper, nozzle opening and cap geometry do not match. A part can share the same nominal diameter but sit at a different depth, close late or direct air unevenly around the tip. If the pulse began after a replacement, put the original confirmed parts aside, record the new part codes and verify the exact model before another test.
Do not use the needle as a tool to clear the nozzle. Forcing it forward can bell-mouth or split the opening. Use the nozzle replacement pulsing check to decide whether the issue is compatibility, cleaning, seating or confirmed part damage.
Pulsing after cleaning: reassembly before replacement
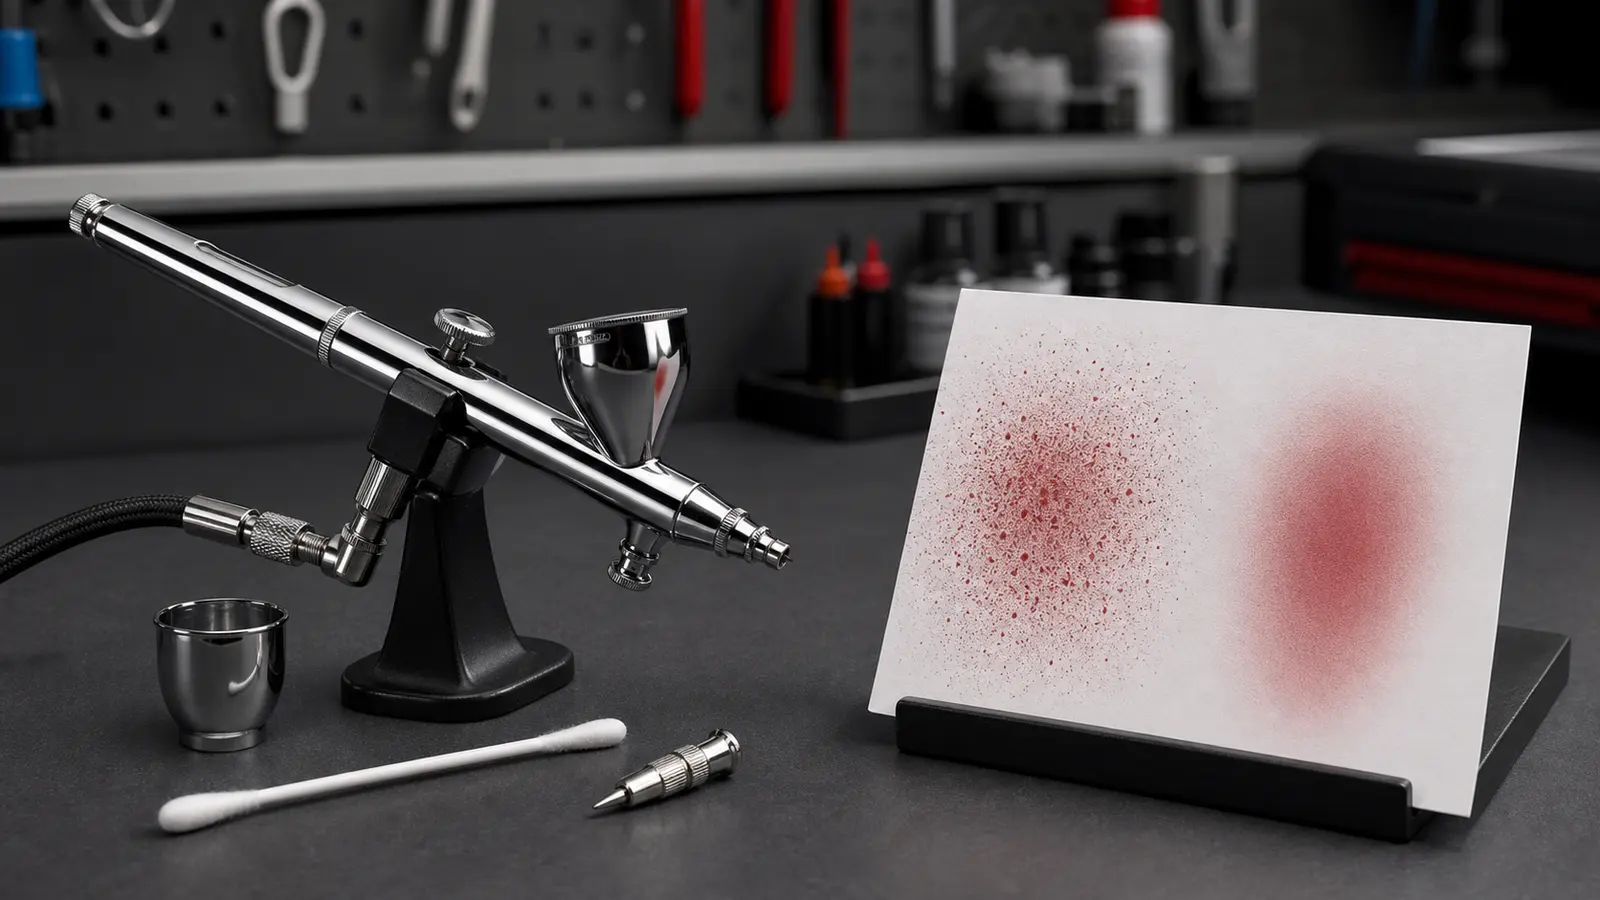
Airbrush pulsing after cleaning usually means the cleaning session changed a condition: cleaner remains in the cap, the needle clamp is not seated, a seal moved, a cap was installed out of order or loosened residue is still inside the passage. Compare the current assembly with the model diagram and repeat the clean-liquid spray before loading paint.
If no liquid sprays after cleaning, use the air-only and no-paint diagnostic. If the clean liquid works but paint pulses, return to material preparation. If cup bubbles appear, use the backflow guide. This sequence prevents a service team from replacing a nozzle to mask a reassembly issue.
Build a spray-card pulsing test
An airbrush spray card pulsing test should be short enough for support teams to repeat, but strict enough to reveal the cause. Use one card and mark five passes: air timing, clean-liquid dots, clean-liquid line, prepared paint line and a ten-second fill. Keep pressure, distance and trigger movement fixed while changing only one variable.
| Card field | Record exactly | Do not infer |
|---|---|---|
| Air source | Compressor model, regulator, hose, filter, quick fittings and whether a tank is used | Do not call it stable because the no-flow gauge looks high |
| Airbrush front end | Model, head size, needle, nozzle, cap and any seal replaced | Do not assume a nominal diameter proves compatibility |
| Test medium | Clean liquid, paint type, reduction method and filtration status | Do not copy a ratio from a different coating |
| Observed rhythm | Start time, pulse interval, motor cycle, cup bubbles and whether the card recovers after a pause | Do not record a single clean pass as proof of repair |
When pulsing is actually moisture, spitting or clogging
A pulse that begins only after the compressor warms can be moisture or heat-related rather than a nozzle defect. If a clear droplet appears or the hose becomes wet, move to the moisture-related pulsing check. If the fault is one large droplet after a pause, it is more likely spitting. If flow fades and returns after tip cleaning, it may be tip dry or a repeat clog.
For OEM and wholesale projects, keep these outcomes separate in the sample report. The final kit may need a different compressor, a clearer cleaning instruction, a model-specific spare-parts label, a better moisture-control setup or a different nozzle recommendation. The evidence should lead the change, not the loudest symptom name.
Airbrush pulsing FAQ
Why does my airbrush pulse only when spraying paint?
The clean-liquid result suggests the air path may be stable, so investigate paint preparation, pigment settling, tip dry, nozzle suitability and partial internal restriction before replacing hardware.
Can a compressor cause airbrush pulsing?
Yes. Compressor cycling, restricted filters, leaking fittings, unstable regulation, a kinked hose or insufficient delivered airflow can all create a pulse. Read pressure while air is flowing and test before changing the airbrush head.
Do cup bubbles mean the nozzle is cracked?
Not always. Cup bubbles indicate backflow, which can come from seating, cap order, contamination, a seal issue or damage. Inspect in a controlled order and avoid overtightening.
Should I buy a new needle and nozzle set?
Buy replacement parts when inspection or the model’s service process confirms damage or incompatibility. First rule out air-source rhythm, cleaning residue, material preparation and incorrect assembly.
Confirm the cause, then update the kit or service note
Airbrush pulsing is a diagnostic clue, not a single defect. Separate air-only rhythm, clean-liquid flow, prepared paint, cup bubbles, head sealing and matched front-end parts. Record the same card after each change so a distributor, studio or private-label buyer can see what actually corrected the fault.
YIDIAN develops airbrush, mini-compressor and complete-kit configurations for OEM and private-label programs. Send the airbrush model, nozzle size, material, pressure under flow, pulse timing and target order quantity to discuss a sample-validation or troubleshooting plan.
Technical references: Iwata airbrush troubleshooting procedures, the Iwata airbrush cleaning guide and the Sparmax TC-610H Plus compressor manual. Use the exact equipment manual for service limits and safety procedures.