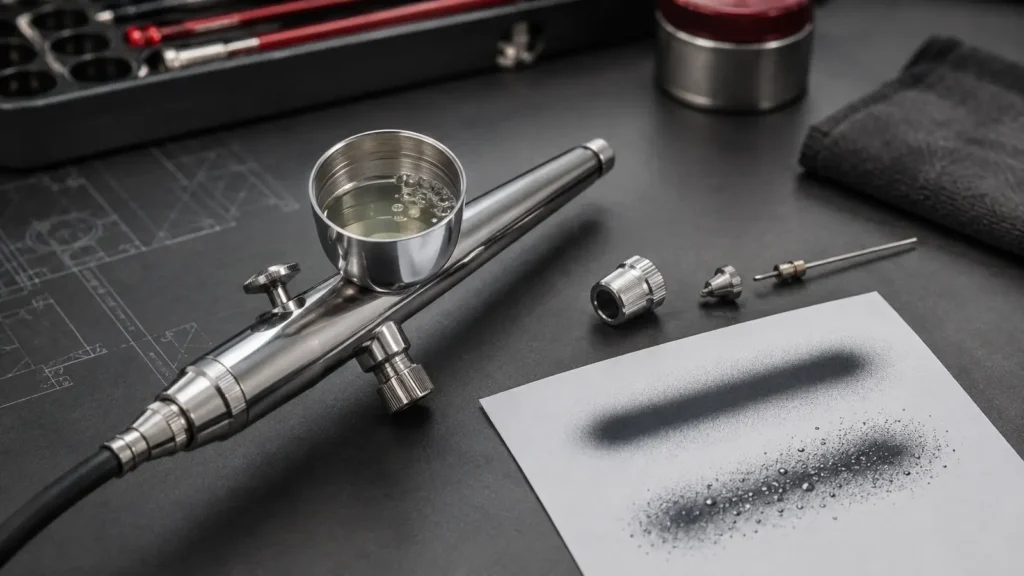
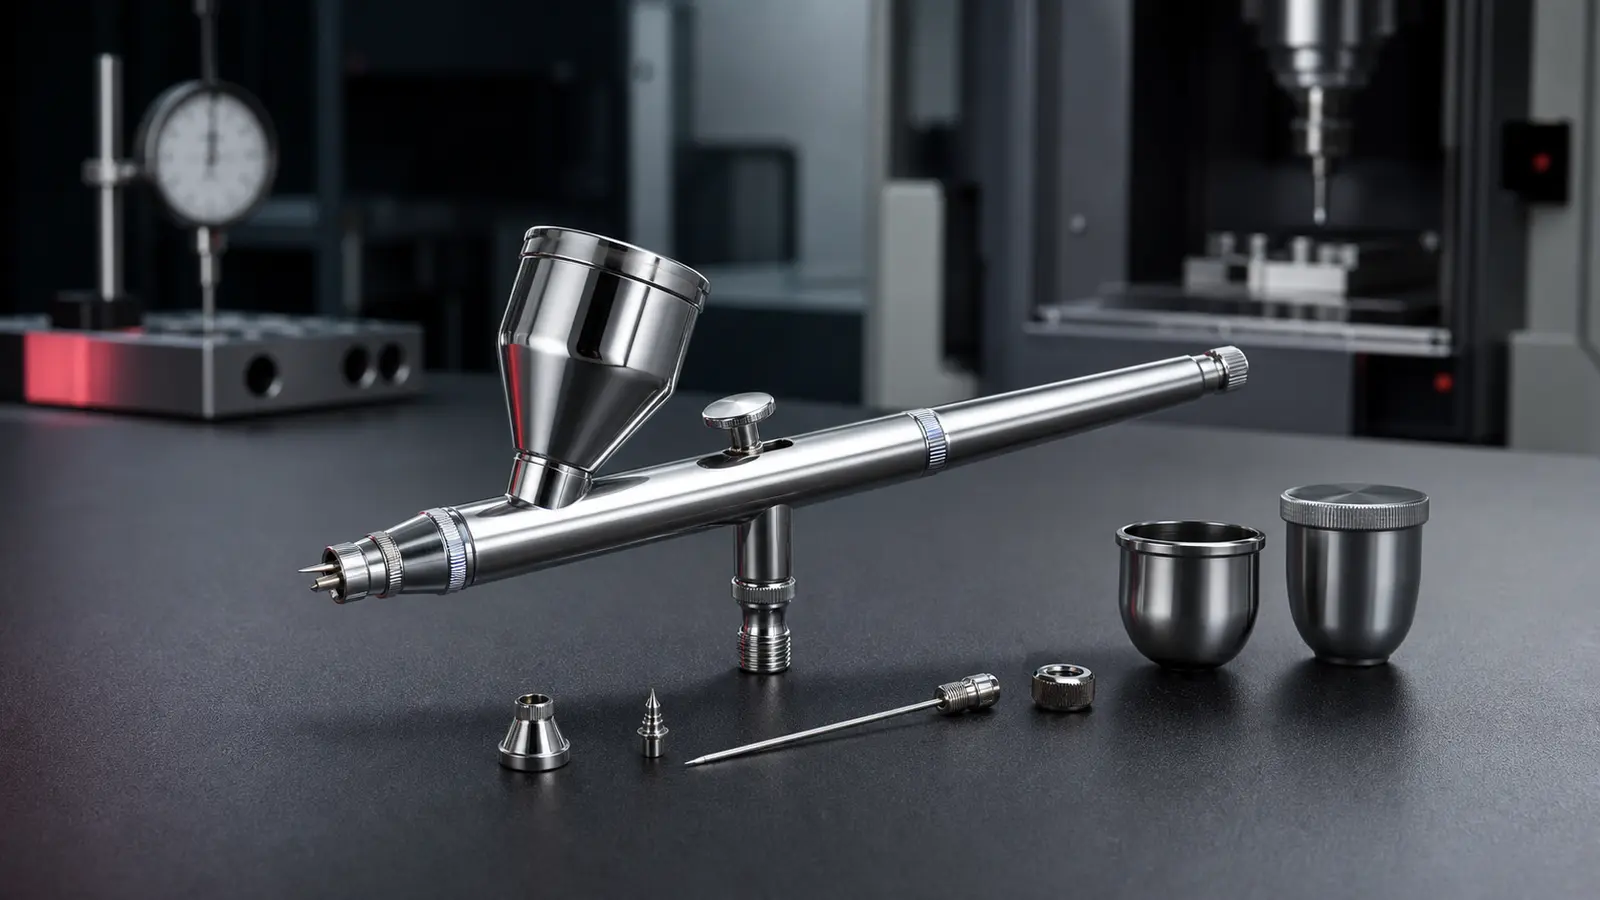
A gravity feed airbrush uses a cup above the body to move material toward the nozzle. The layout is compact, works with small paint volumes and is widely used for model painting, illustration, nail art, beauty and other detail-focused applications. Yet two gravity feed models can feel very different once spraying begins.
For buyers evaluating a gravity feed airbrush factory, the useful questions concern the complete system: cup, nozzle, needle, trigger, air valve, seals and operating pressure.
Beginner gravity-feed setup for miniatures and Gunpla
A gravity feed airbrush for beginners is attractive because a small top cup is easy to inspect, uses little paint and can support lower-pressure practice when the material is prepared correctly. That does not make every gravity-feed model beginner-safe. The first sample still needs stable trigger response, a forgiving nozzle choice, clear cleaning steps and a compressor that holds pressure while air is flowing.
For an gravity feed airbrush for miniatures decision, keep the first session simple: one prepared paint, one nozzle, one pressure setting and one labelled spray card before moving to a figure. If the user reports spitting, no paint flow or repeat clogs, route the support note to the first-use spitting check, the no-paint checklist or the miniature clogging triage instead of treating the complaint as one generic failure.
An gravity feed airbrush for Gunpla should be tested across primer, base color and a short restart after cleaning. Record whether the cup view, trigger travel and pressure response remain comfortable for a new model builder. Then connect the setup to the Gunpla pressure check and the starter kit checklist before approving a retail bundle.
Why gravity feed is effective for detail work
Because material is supplied from above, the airbrush can often operate at lower pressure than a bottle-fed system. Lower pressure may help reduce overspray and improve close control when the material is prepared correctly. The small cup also makes it practical to use limited quantities and change colors frequently.
Gravity feed is not automatically the best answer for every job. Large-volume spraying may favor a larger reservoir or different spray platform. The objective is to match capacity and control to the user’s actual session.
When capacity, pressure and prepared-bottle changes matter, compare the alternatives in our gravity feed vs siphon feed airbrush guide.
Select cup size around the workflow
A small integrated cup keeps the body compact and gives the operator a clear view of the work. It suits detail sessions, small color quantities and quick cleaning. A larger cup extends working time but adds weight and may affect the sightline. Removable cups can create more options, provided the connection seals consistently.
When reviewing a sample, fill the cup only to the amount expected in real use. Tilt and rotate the airbrush through normal working angles. Check the lid, cup joint and material passage for leakage. Also confirm that the cup is easy to reach with a cleaning brush.
Nozzle size is a system choice
Nozzle diameter affects potential line width, material tolerance and required airflow. Common OEM ranges extend from approximately 0.2 mm for fine work to 0.8 mm for wider or more specialized coverage. The best option depends on the coating, pressure and user skill.
- 0.2-0.3 mm: useful for fine detail, controlled gradients and thin materials.
- 0.3-0.5 mm: balanced for general hobby, beauty, decorative and training applications.
- 0.5-0.8 mm: considered for broader patterns or materials requiring more flow.
A smaller nozzle needs a well-prepared material and careful cleaning. If the market uses thicker coatings or inconsistent dilution, a slightly larger setup can reduce clogging and support a better first experience. Compare the common configurations in our 0.2 vs 0.3 vs 0.5 mm airbrush nozzle size guide.
Needle and nozzle alignment drives consistency
The needle tip and nozzle are delicate, and their alignment affects spray start, pattern and sealing. A bent needle, damaged nozzle or contaminated seat can cause off-center spray, pulsing or material leakage.
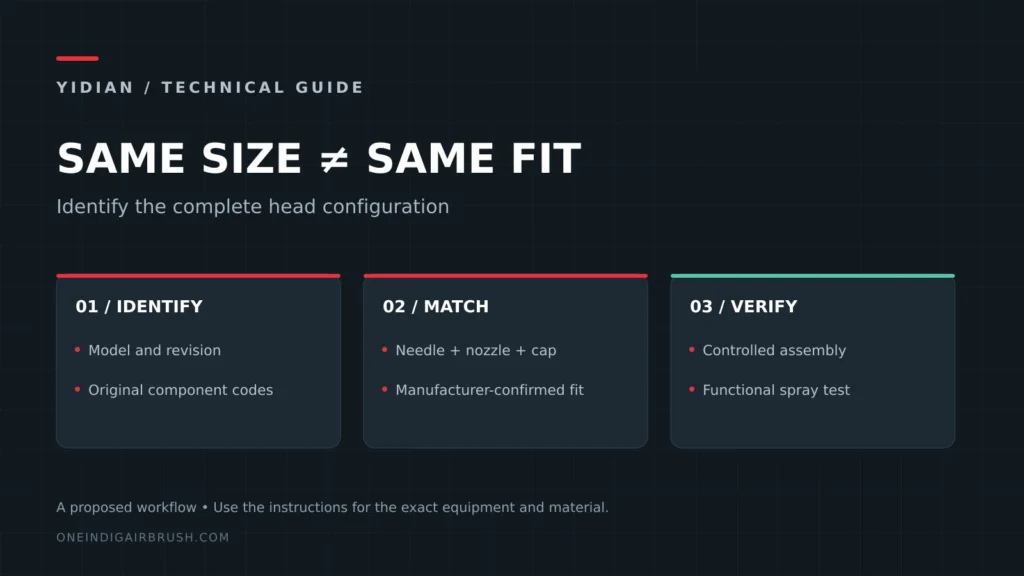
Ask the gravity feed airbrush manufacturer how these components are produced, handled and inspected. Packaging should protect the needle and nozzle from impact. Replacement parts should be identified clearly because parts that look similar may not share the same fit.
Trigger response should be progressive
On a dual action gravity feed airbrush, pressing down starts air and pulling back meters material. The ideal response is smooth and predictable. Excessive spring force creates fatigue; very light or loose movement may reduce confidence. Surface finish, lubrication and component fit all influence trigger feel.
Test repeated starts, not only long spray passes. Create rows of dots and short lines, then compare the point at which paint begins. This reveals whether control is consistent through the trigger travel.
Record cup, nozzle and cleaning behavior
Gravity feed airbrush cup cleaning is a product-design issue as much as a maintenance task. After a color change, check whether material remains under the cup floor, around the lid edge or in the passage leading to the nozzle. A cup that looks clean from above can still leave residue that causes delayed paint or uneven starts.
Use a gravity feed airbrush sample test after each cleaning level: quick rinse, end-of-session clean and reassembly after removing the needle. Record whether the first dot, short line and broader fill return to the same baseline. If the airbrush sprays air but no material, compare the behavior with the no-paint-flow diagnostic sequence before replacing parts.
Airbrush cup size selection should be validated with the actual angle and session length, not only by nominal capacity. For each cup option, confirm sightline, balance, refill frequency and leakage. Also document gravity feed nozzle alignment after shipping and reassembly; off-center seating can create bubbles, uneven spray or premature sample rejection. Use the cup-bubble troubleshooting guide and sample inspection checklist for the follow-up record.
Match pressure to atomization, not a marketing number
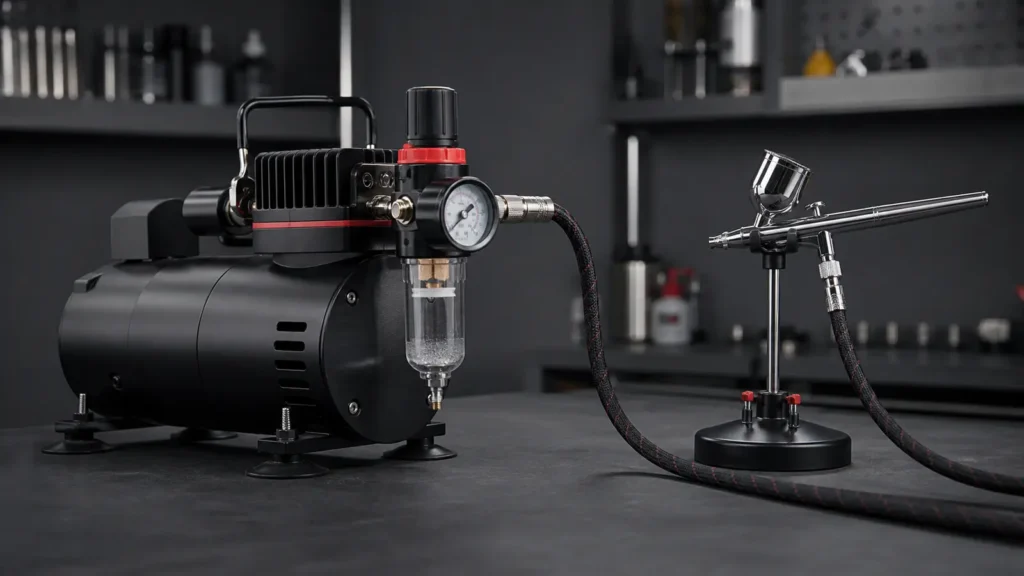
The compressor’s maximum pressure does not describe the pressure used at the airbrush. Actual working pressure depends on the material, nozzle and desired finish. Fine-detail work may use lower pressure, while thicker material or broader coverage may require more.
Test the airbrush with the regulator, hose and compressor intended for the final kit. Pressure drop, pulsing and moisture control can change the result. A good airbrush connected to an unstable air source will still create a poor customer experience.
The airbrush pressure guide explains practical starting ranges, working pressure under airflow and a repeatable test-card method.
Check seals and material compatibility
Different paints, cosmetics and cleaning agents place different demands on seals and internal surfaces. Provide the supplier with the intended material category and cleaning method. Ask which seal materials are used and whether the proposed setup has been tested with similar media.
Do not assume that one specification covers every solvent or cosmetic formulation. Final compatibility should be confirmed for the target market and use.
Plan cleaning as part of product design
Users often judge an airbrush after cleaning it, not only after spraying. The cup should rinse easily, the needle should be removable without awkward handling and small parts should not be unnecessarily difficult to reinstall.
A complete retail offer may include cleaning brushes, a nozzle tool, a cleaning pot, spare seals or a protective needle cap. These accessories should match the product rather than simply increase the item count. Use our airbrush cleaning and maintenance guide to plan routine, end-of-session and fault-driven cleaning instructions.
Use a fixed test card with fine lines, dots, a gradient and a broader filled area. Record material, dilution, pressure, nozzle size and distance. Repeat after disassembly and cleaning to confirm that performance returns to the same baseline.
Useful OEM configuration options
A proven gravity feed platform can often support meaningful private-label variation without changing its core mechanism:
- nozzle and needle combinations;
- integrated or removable cup choices;
- body color, plating and surface finish;
- trigger and rear-handle details;
- logo location and marking method;
- hose, fitting, holder and cleaning accessories;
- individual box, presentation case or complete compressor kit.
Every option should be reflected in the approved bill of materials and packaging list. If multiple nozzle sizes share the same box design, create a visible identification method to prevent warehouse and customer confusion.
Questions to ask a gravity feed airbrush factory
- Which nozzle ranges are validated on the same body platform?
- Which components are machined and inspected in-house?
- How are needle and nozzle alignment checked?
- What functional tests are completed before packing?
- Which replacement components will be available for repeat orders?
- Can the factory test with your target material and compressor?
- How are approved color, logo and packaging standards controlled?
Choose for the application, then validate the system
A gravity feed airbrush is a strong platform when the user values control, low material volume and frequent color changes. The best model is the one whose nozzle, cup, trigger and air supply work together under real conditions.
YIDIAN supports dual action gravity feed airbrush development, mini compressor matching and complete kit configuration. Send your application, material, target nozzle range and packaging direction to begin a sample plan with measurable evaluation points.